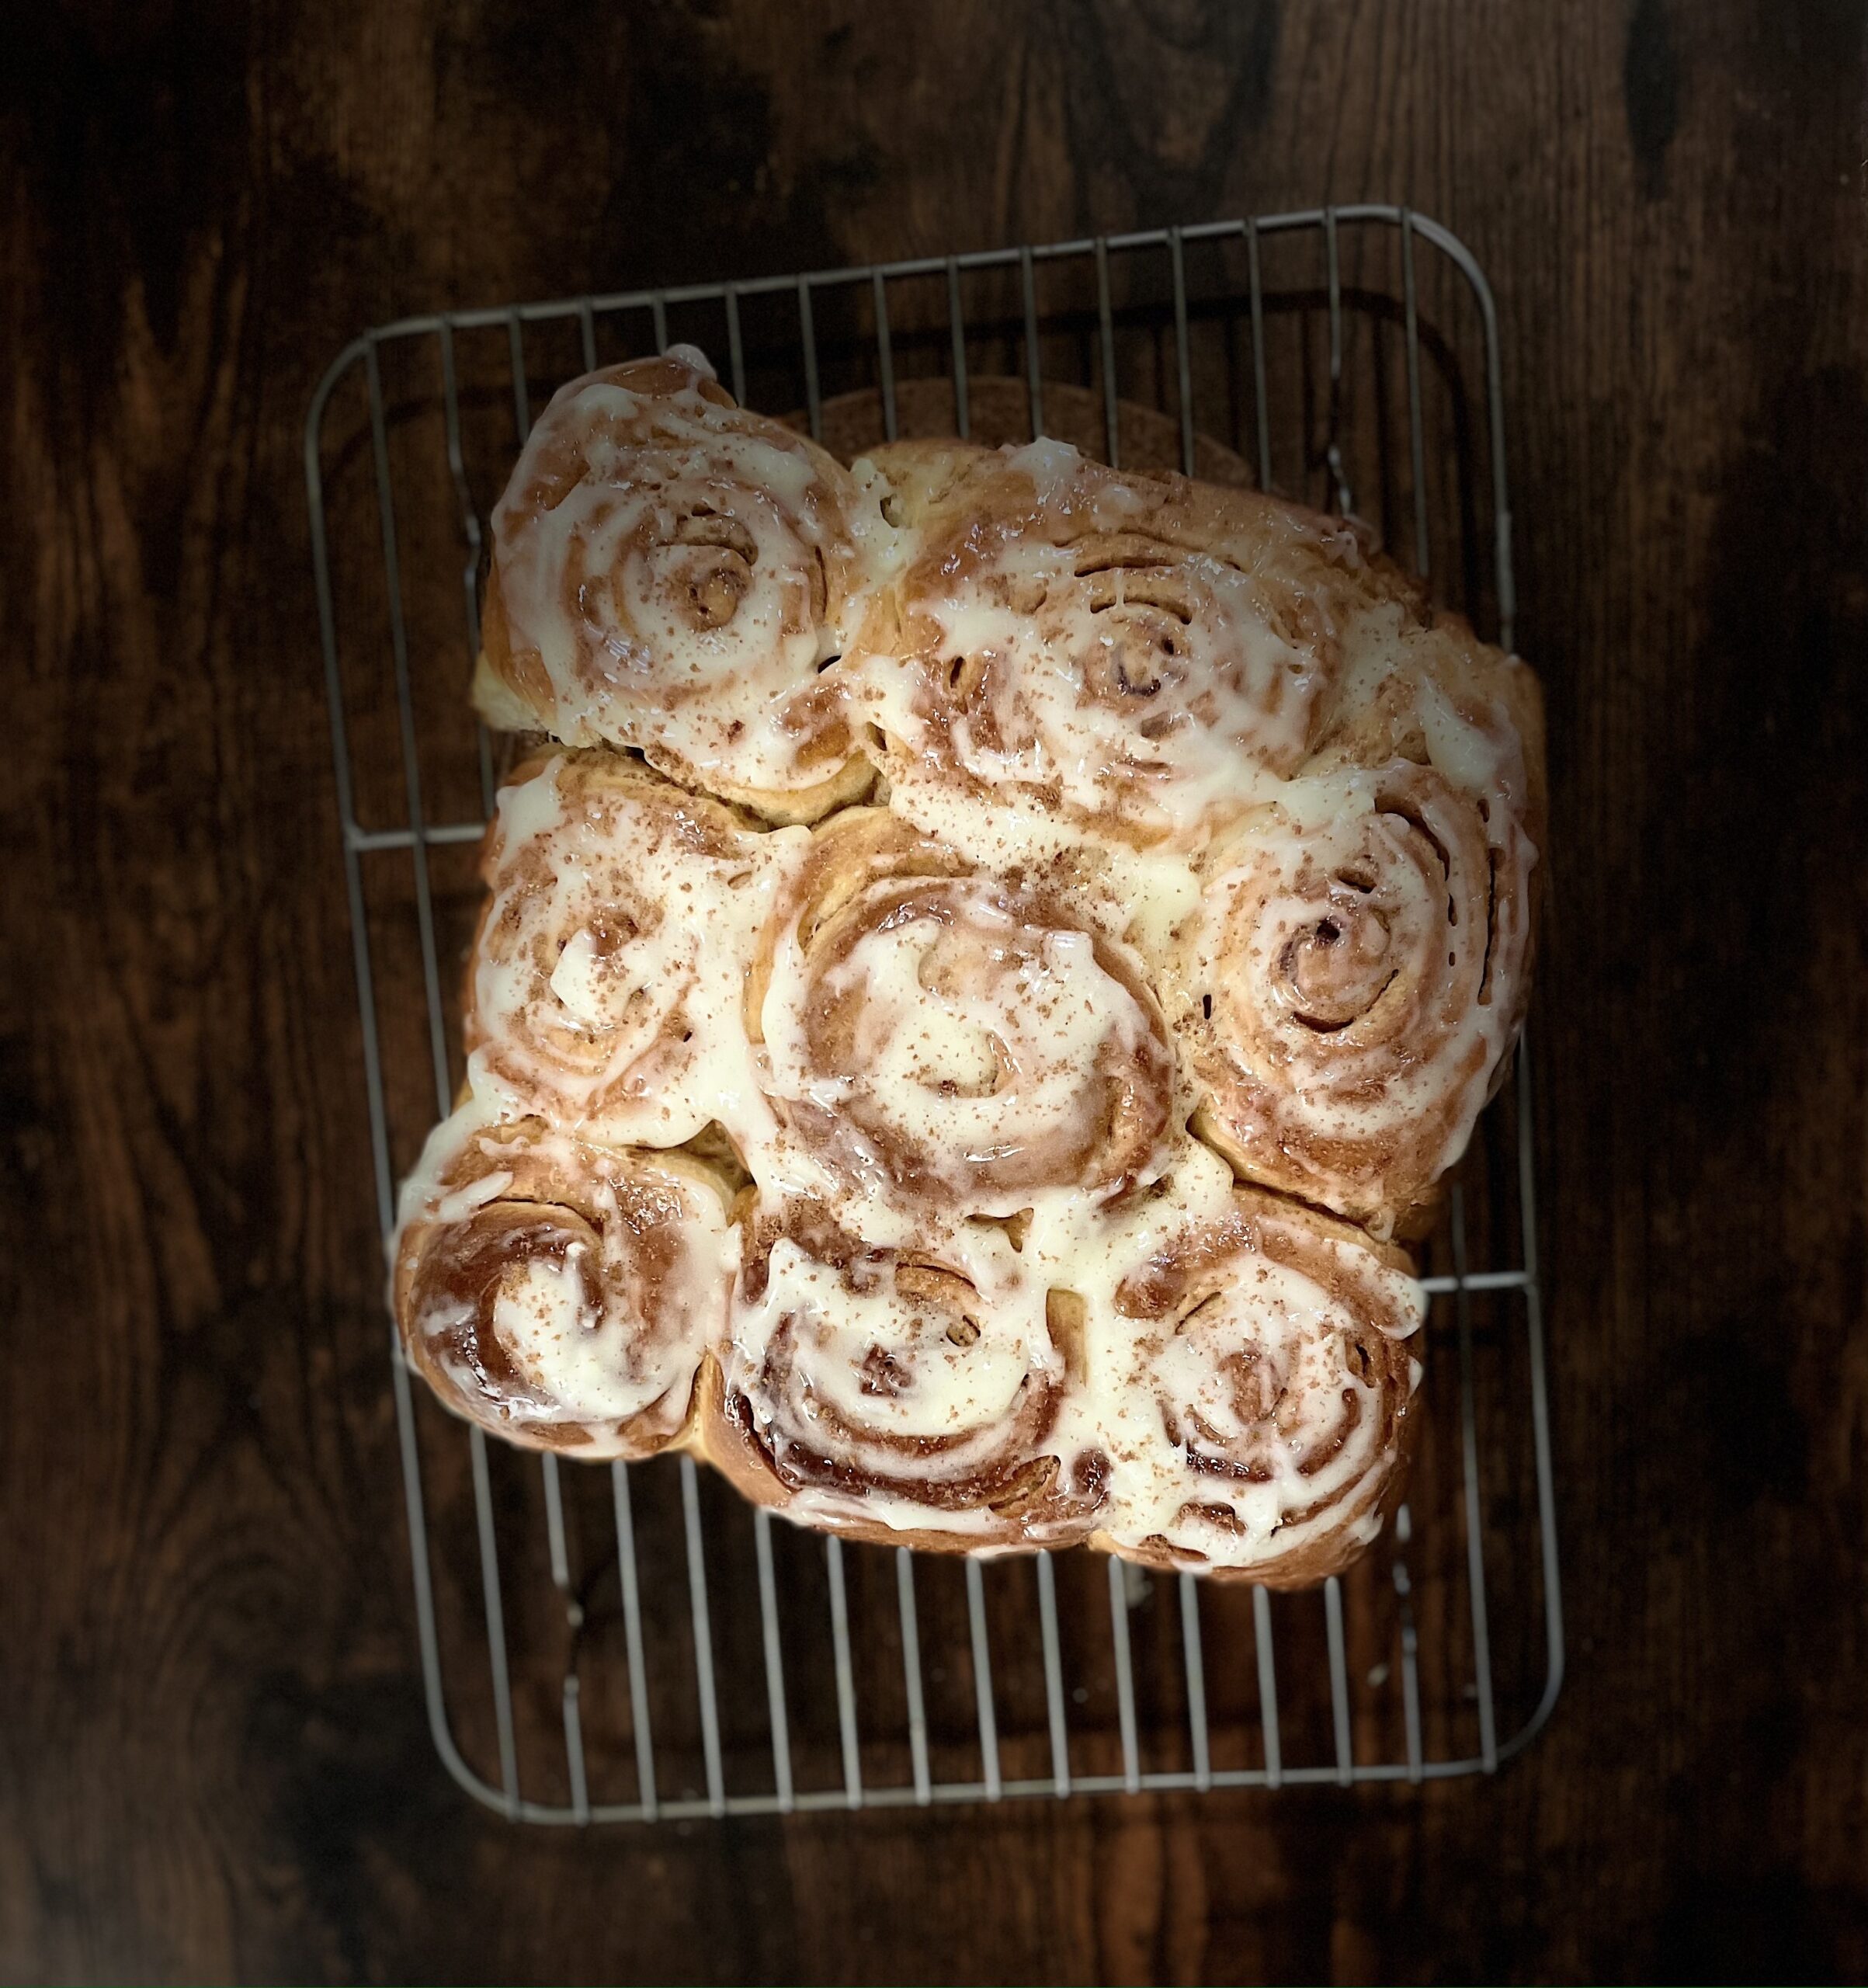
one prove wonder
baking with sophie.Cinnamon
Whatever is in the cupboard…
Easy Cinnamon Bun Recipe
ONLY 1 Rise
This easy to make cinnamon roll recipe is perfect for both beginner bakers, anyone short on time or using up things in the cupboard. With just one rise (the “1 prove wonder”), you’ll get soft, fluffy cinnamon rolls in no time. No fuss, no waiting around—just quick, homemade comfort! These rolls also freeze beautifully, making them ideal for meal prepping or stocking up on a delicious breakfast or snack for the weeks ahead. Made with simple, pantry-staple ingredients, these cinnamon rolls are the real deal—no frills, no fancy additions—just classic, warm, and gooey cinnamon goodness.
As I continue to experiment with this recipe, I’ll be updating and tweaking this post with any new discoveries. In the meantime, if you try this recipe at home and make any delicious changes that result in a truly sensational cinnamon roll, I’d love to hear about it! Feel free to share your tweaks and tips—I’m always excited to learn from fellow bakers.
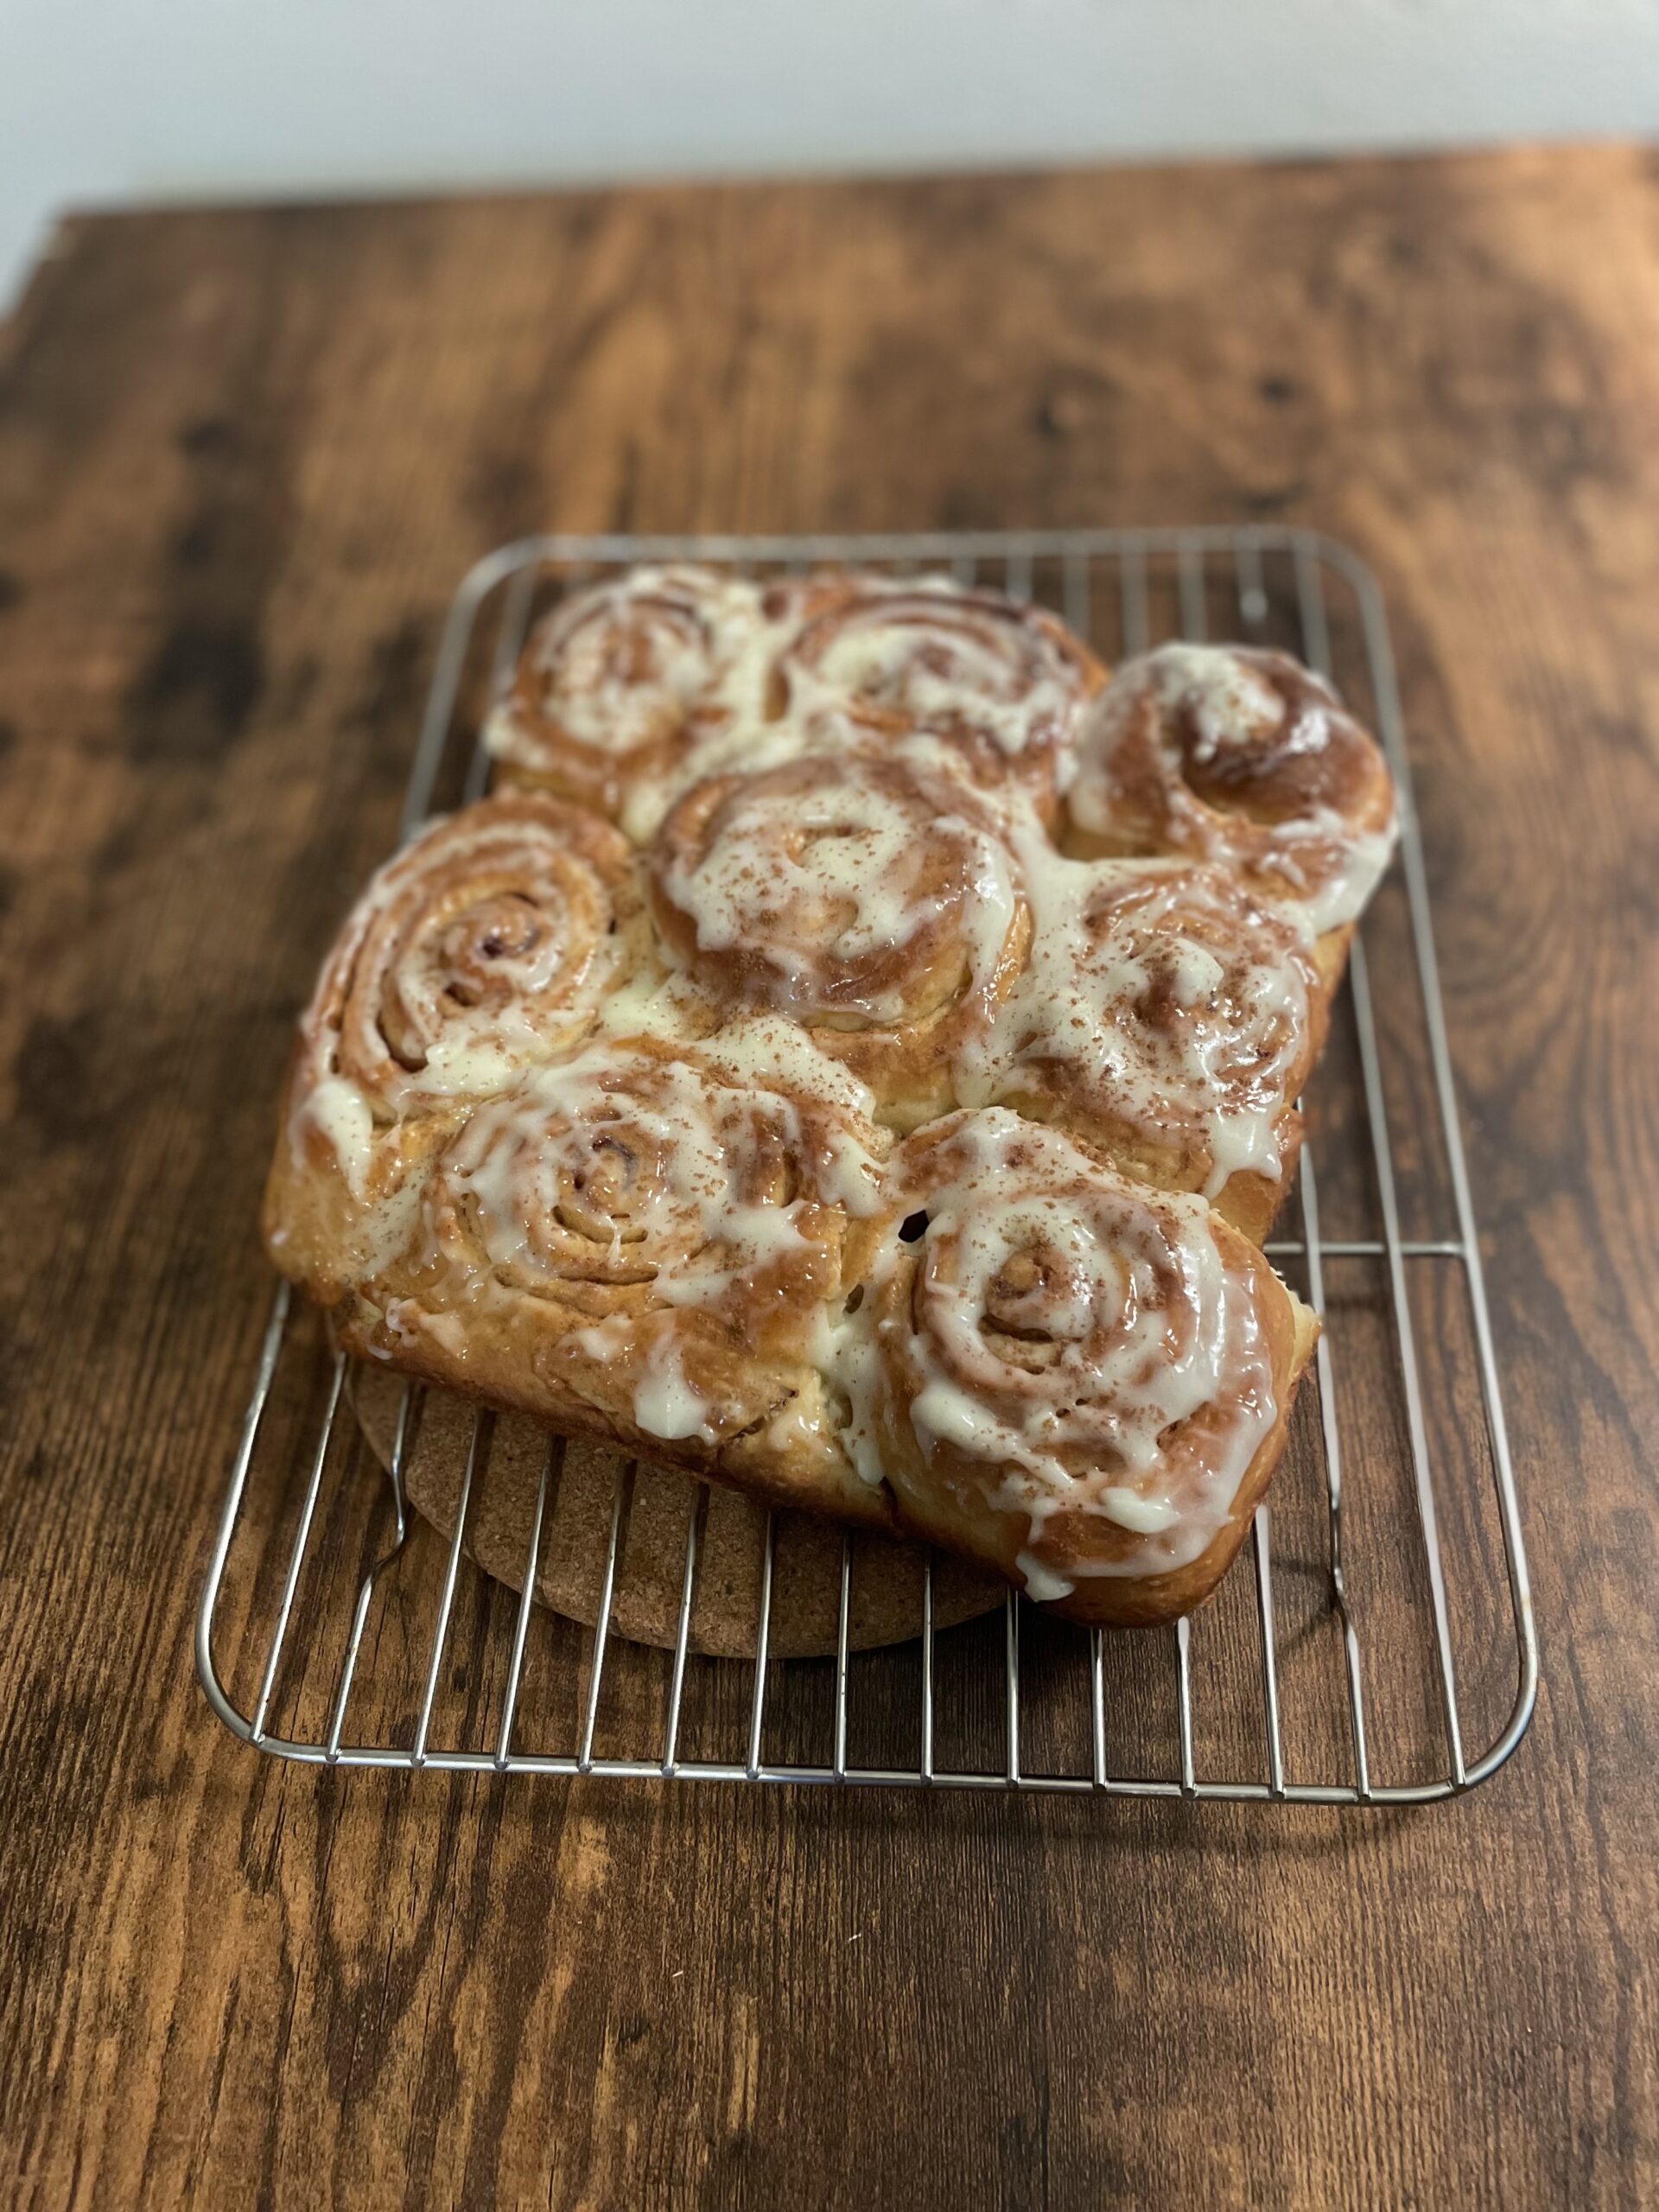
Your Sweet Escape!
Here’s why you’ll fall in love with these easy cinnamon rolls:
Just 1 Rise – No long waiting times, just a quick prove for perfect results.
Soft, Fluffy, & Gooey – The kind of cinnamon roll you can’t resist.
Quick & Easy – No fuss, no complicated steps—just simple, delicious comfort.
Freezer-Friendly – Make a batch ahead of time and enjoy them later.
Crowd-Pleasing – You’ll have everyone asking for the recipe, but luckily, they’re so simple to make you’ll be the hero in no time!
Like what you see… give me a follow
Beginner Bakers: The 1 Prove Wonder
If you’ve been dreaming of homemade cinnamon rolls but have been put off by the time, effort and (let’s be honest) the cost of ingredients, then you’re in the right place! This “One Prove Wonder” cuts the prep time in half so you can enjoy fresh, warm cinnamon rolls with less effort and more time to enjoy the rest of your day. Plus, this recipe keeps things simple—no long lists of fancy ingredients, just good old-fashioned deliciousness!
INGREDIENTS
What I used for this bake:
Just a heads up—everything here is based on what I had in the cupboard – So some ingredients used to make traditional cinnamon bun my be substituted.
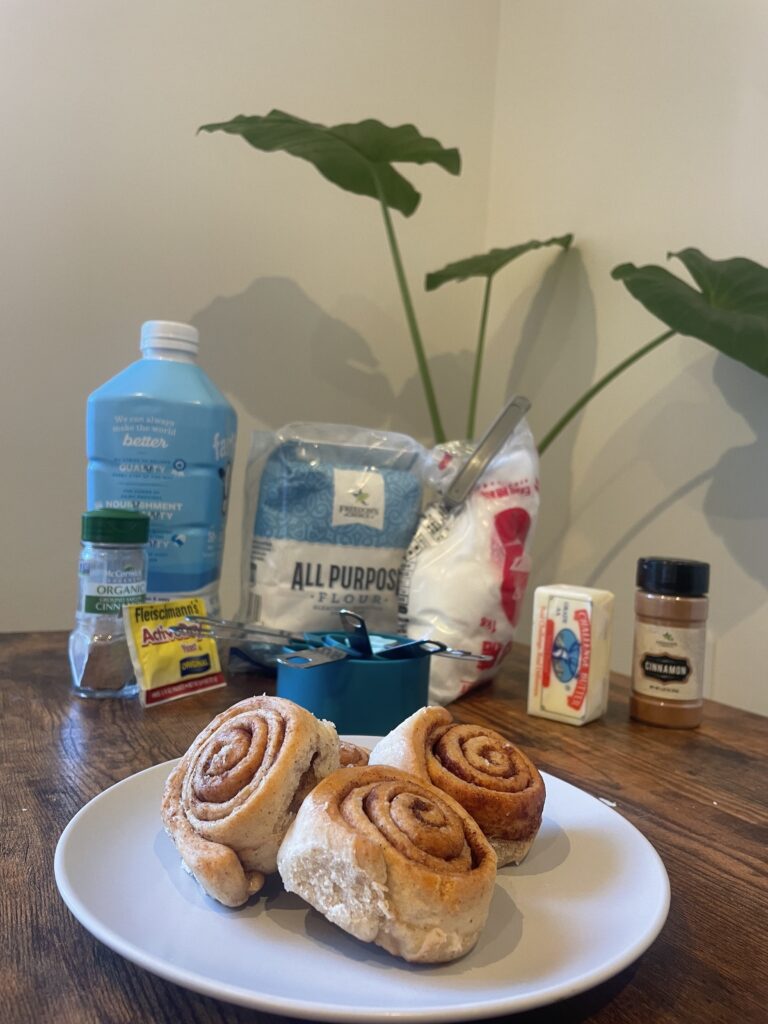
Ingredients
Dough
- 344g all purpose flour, plus more for worktops
- 1/2 teaspoon salt
- 43g butter
- 180ml coconut milk (whole milk substitute)
- 50g granulated sugar
- 1 standard pack of Yeast
- 1 egg
Filling
- 55g granulated sugar (brown sugar substitute)
- 35g butter – spreadable temperate (TIP – get this out of the fridge before starting the dough!)
- 2 Tablespoon ground cinnamon (or more/or less – this is preference)
Toppings
- 80g cream cheese – spreadable temperature (beating it will smoothen)
- 20g butter – spreadable temperate (TIP – get this out of the fridge before starting the dough!)
- 100g icing sugar powder
Instructions
1. Make the Dough:
-In a large bowl, mix together the flour, sugar, and salt. Set the bowl aside.
-In a heatproof bowl, combine the milk and butter. Microwave until the butter has melted and the mixture is warm to the touch (remember you don’t this scolding).
-Whisk in the yeast until it’s fully dissolved.
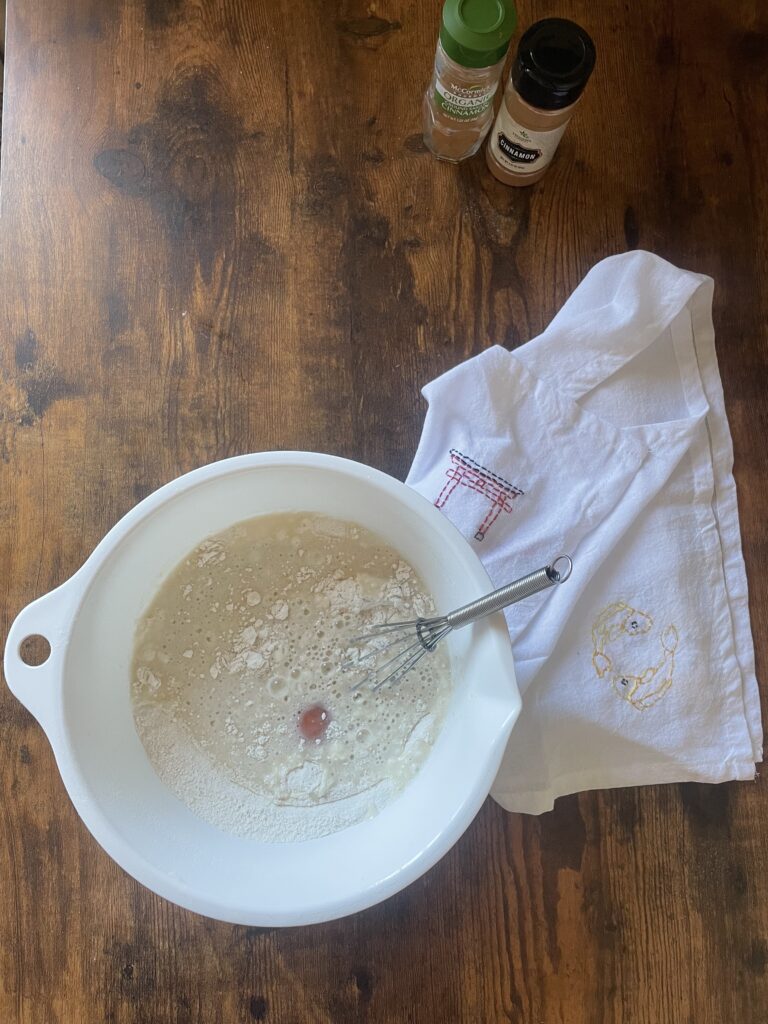
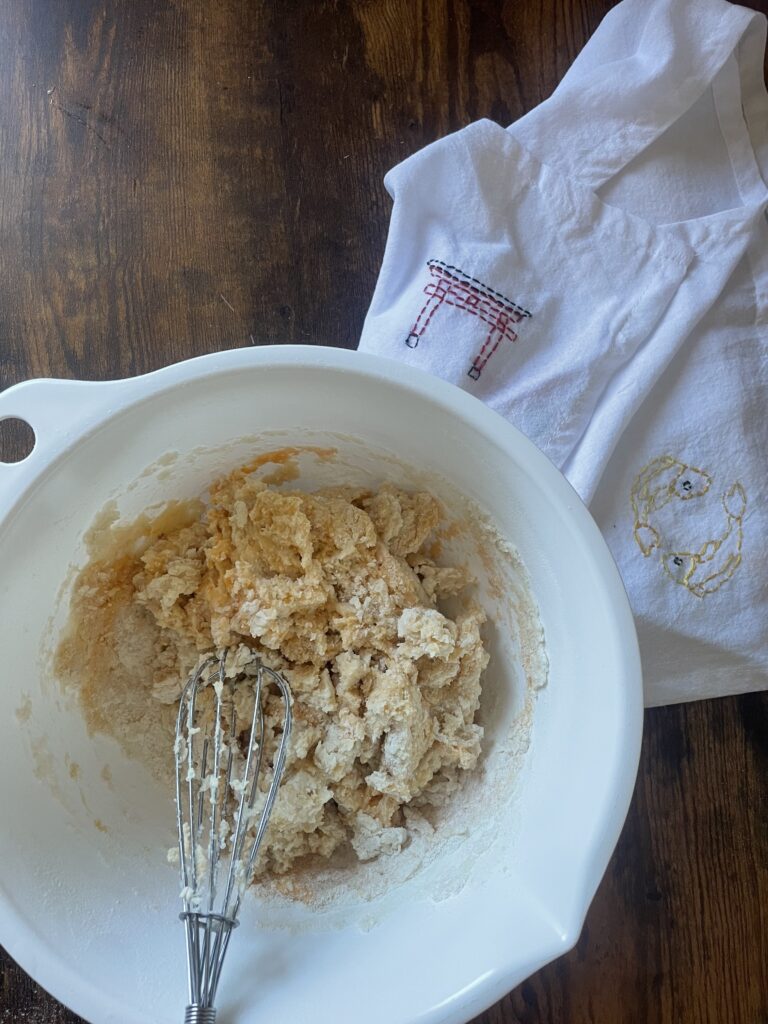
-Pour the milk mixture into the dry ingredients, add the egg and stir with a spatula or wooden spoon. (If after a while you need to use your hands do so, but with out over working the dough).
2. Knead the Dough:
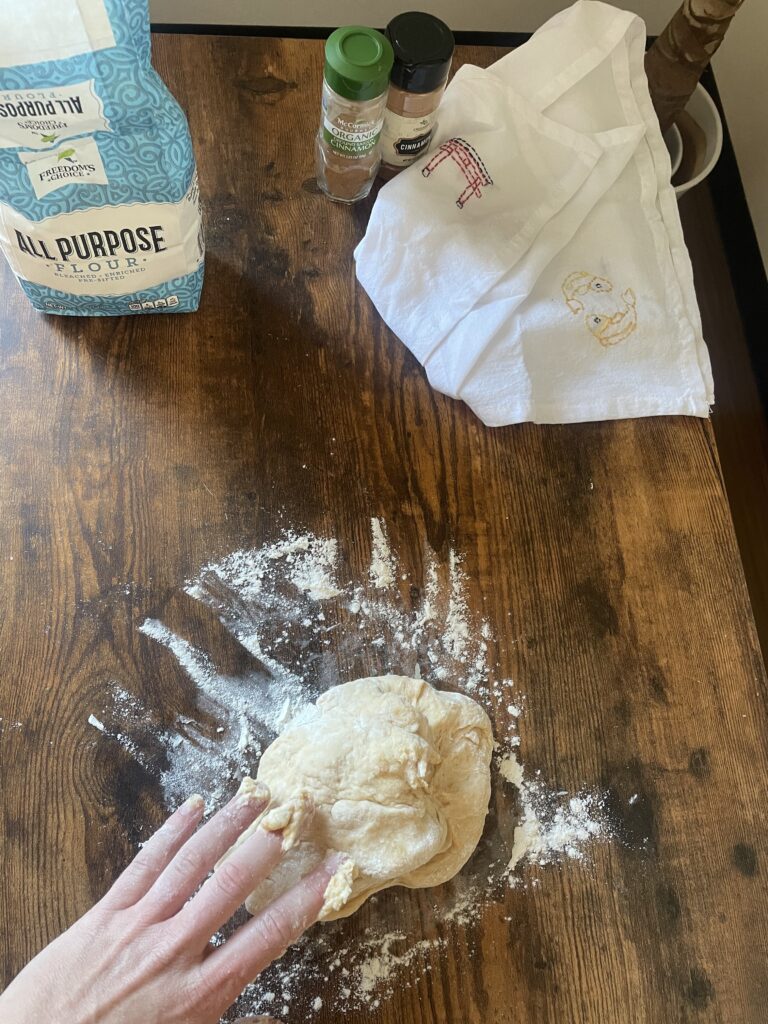
-Transfer the dough to a flat and lightly floured surface.
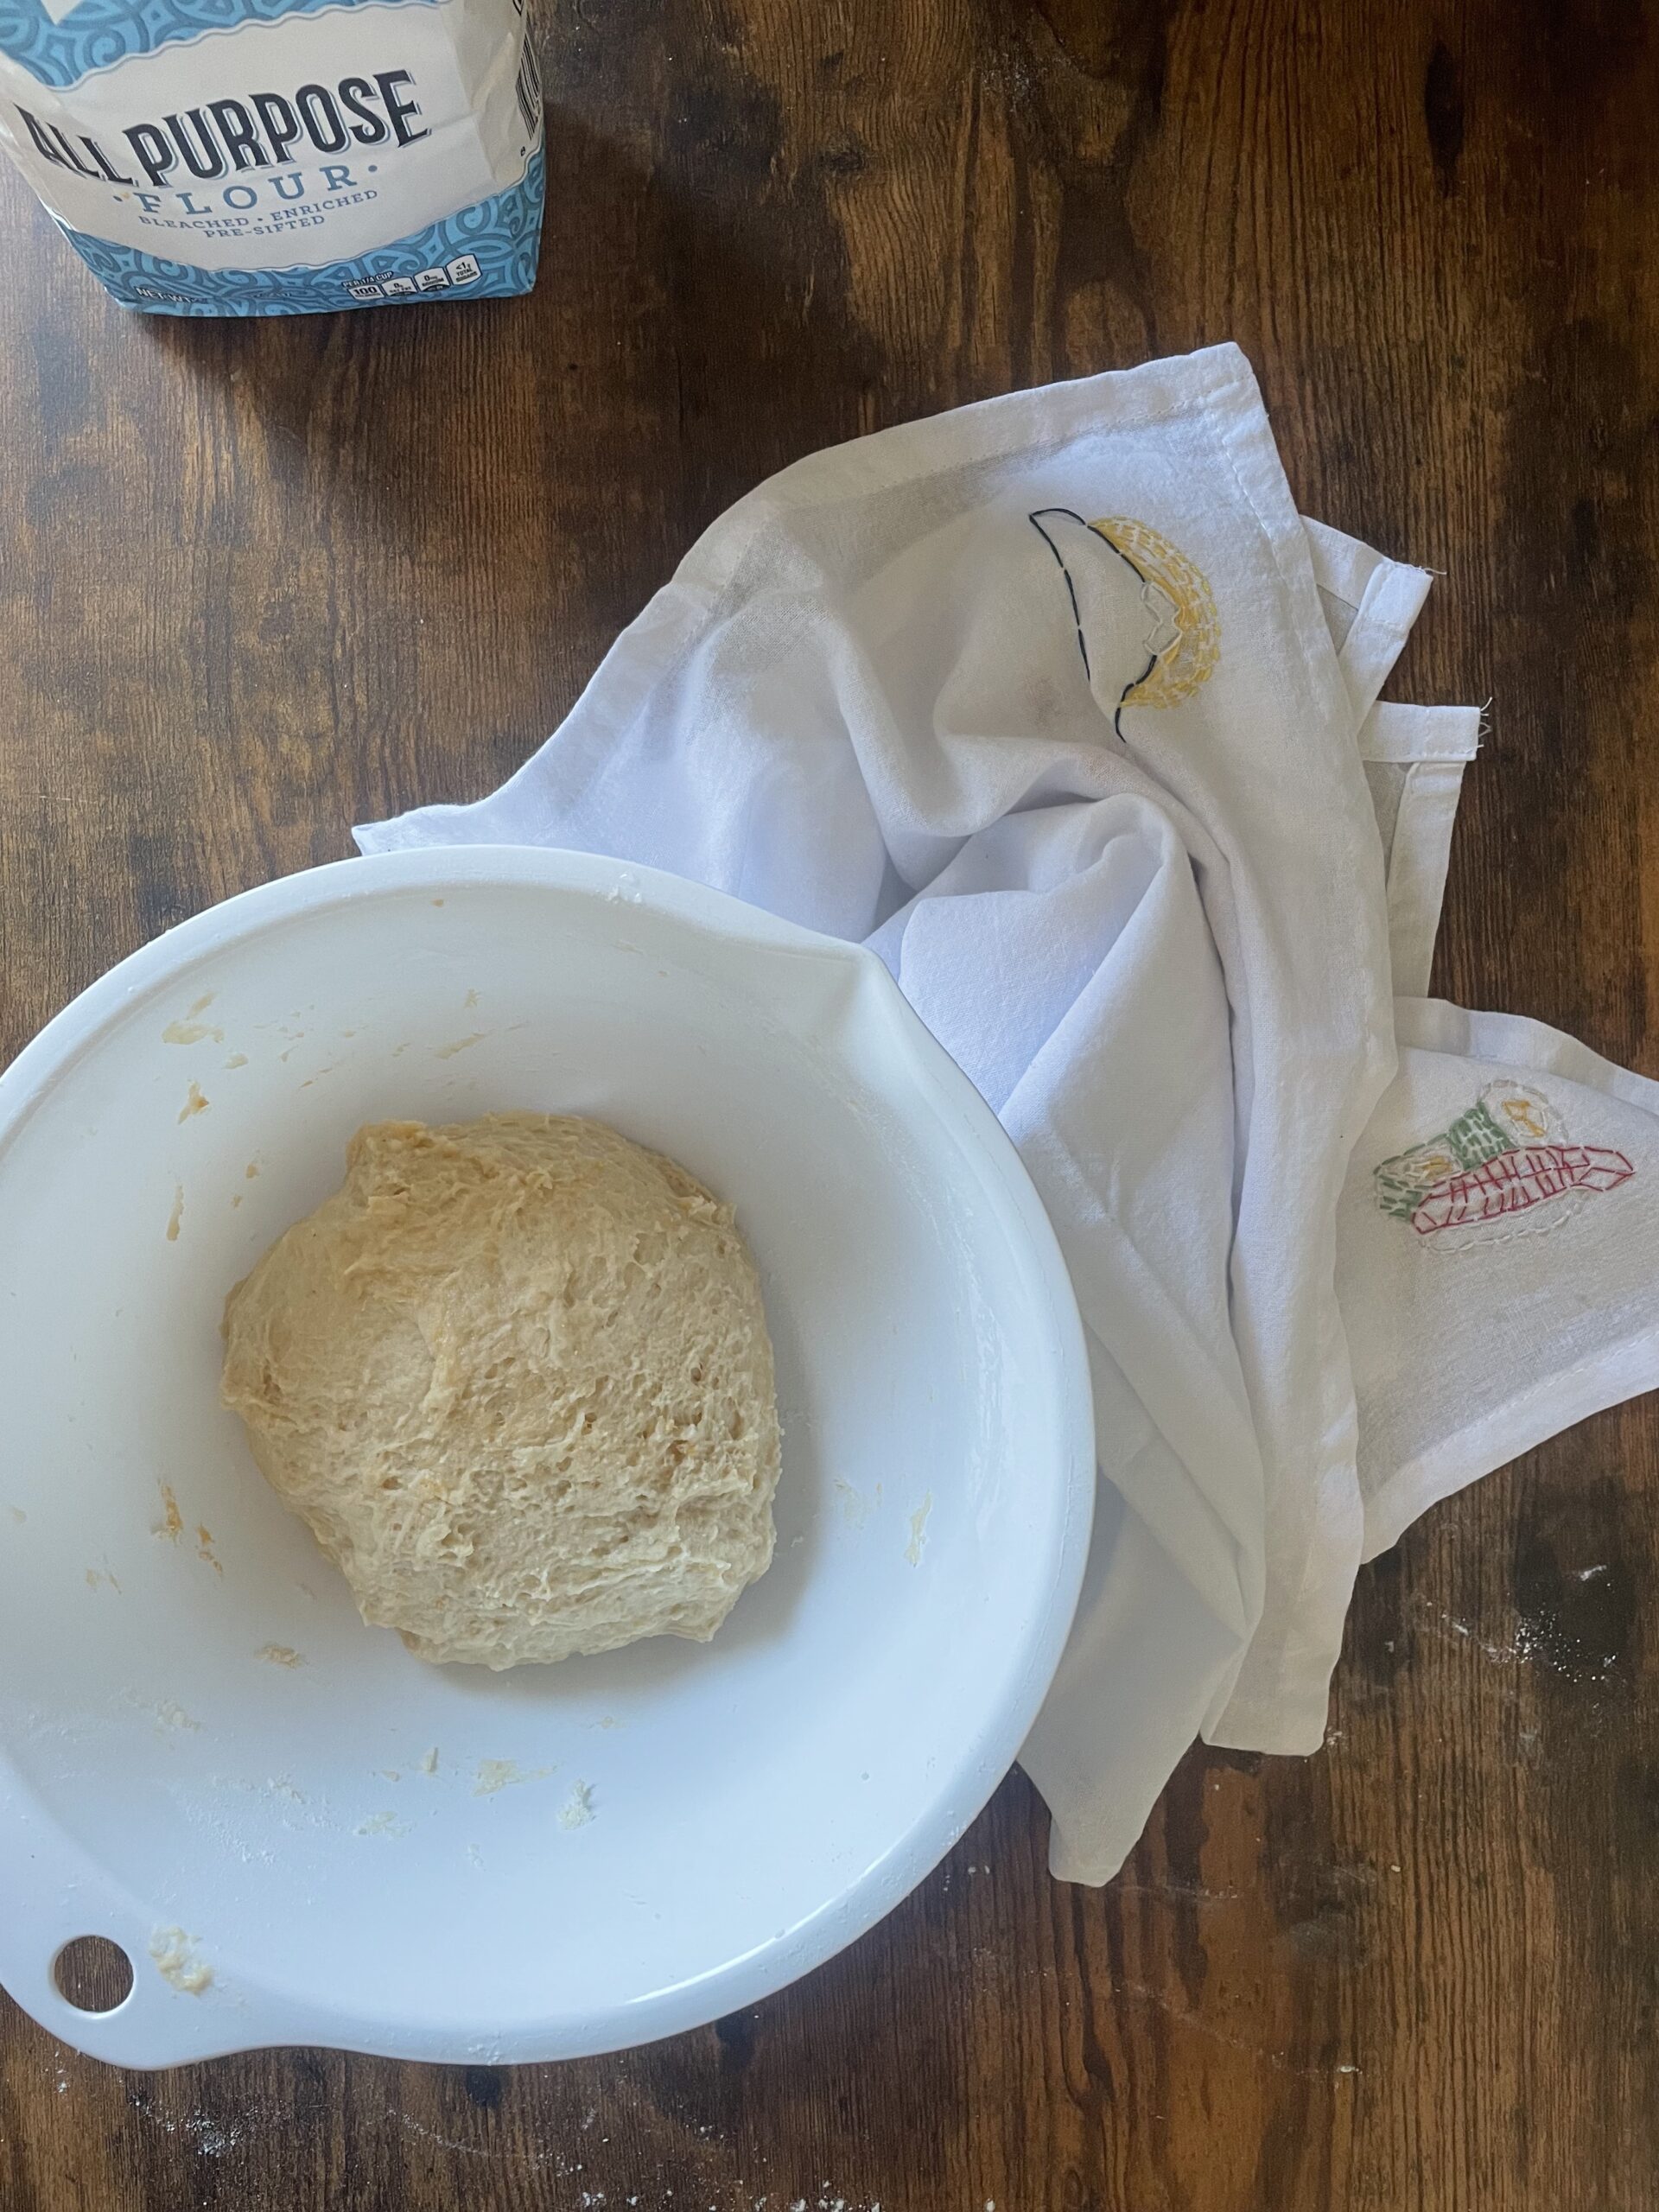
-Using slightly floured hands, knead the dough for 3–5 minutes until it’s smooth and elastic (refer back to the image if worried).
If the dough feels too sticky, add a little more flour.
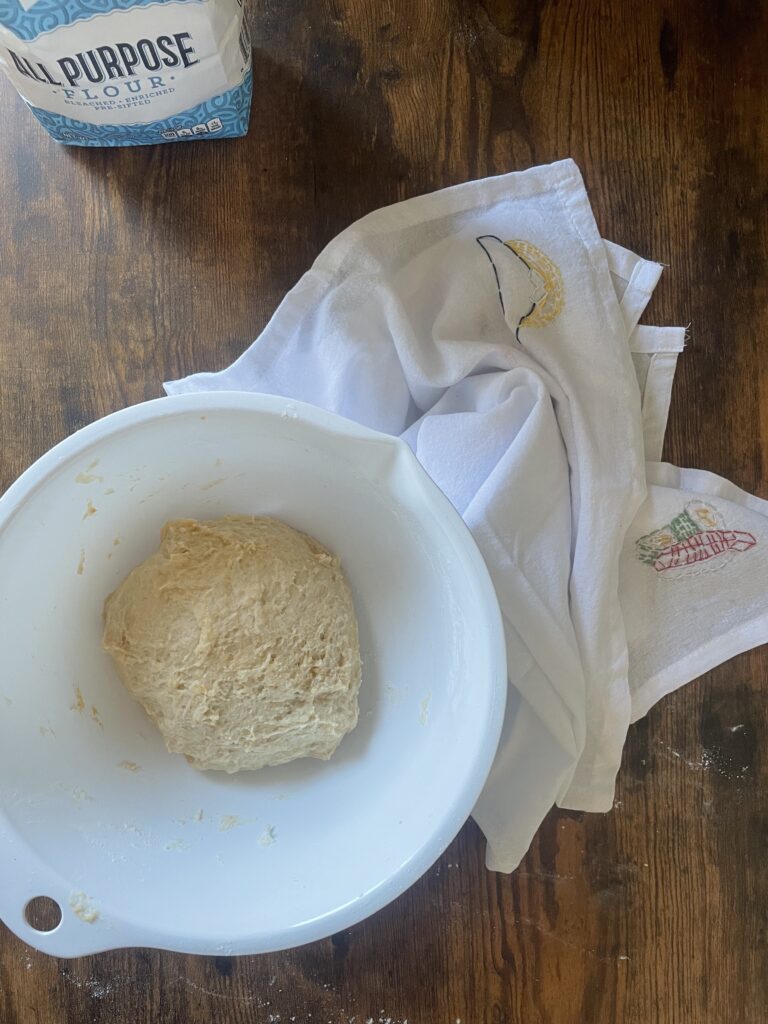
-Form the dough into a ball and place it in a bowl (I reused my mixing bowl)
-Let it rest for about 10 minutes while you prepare the filling.
3. Prepare the Filling:
– Mix together the sugar and cinnamon and set aside.
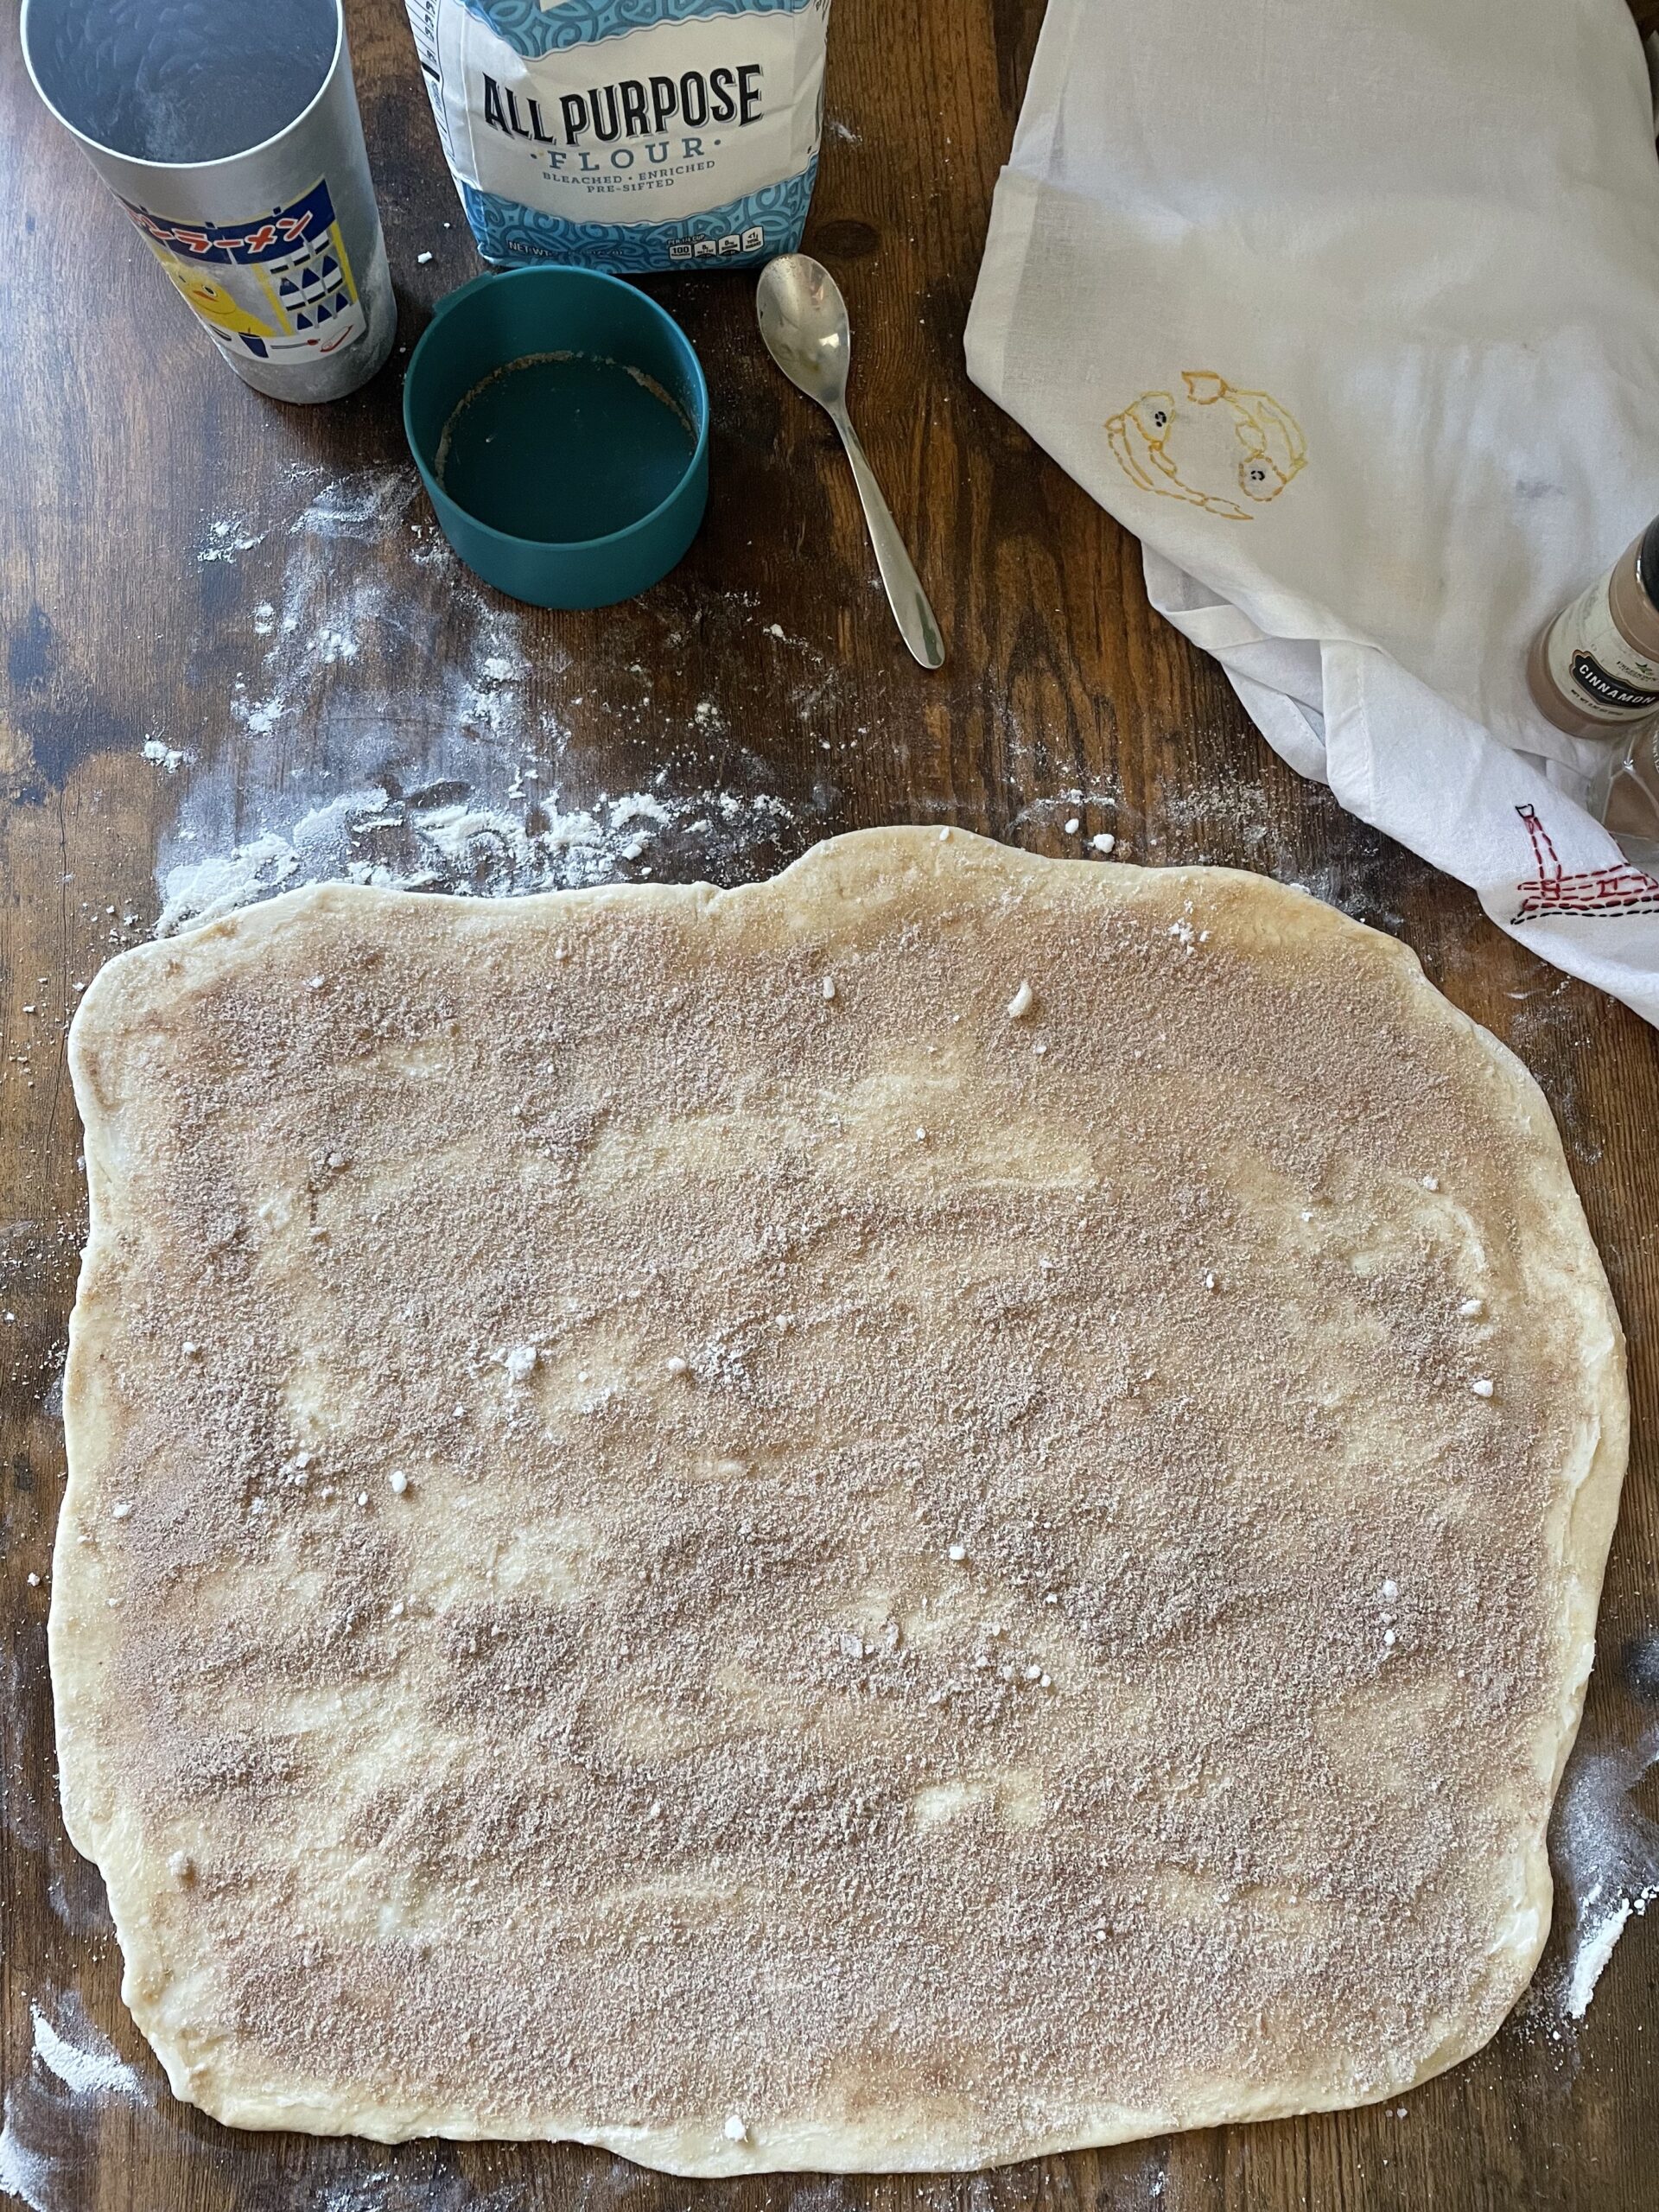
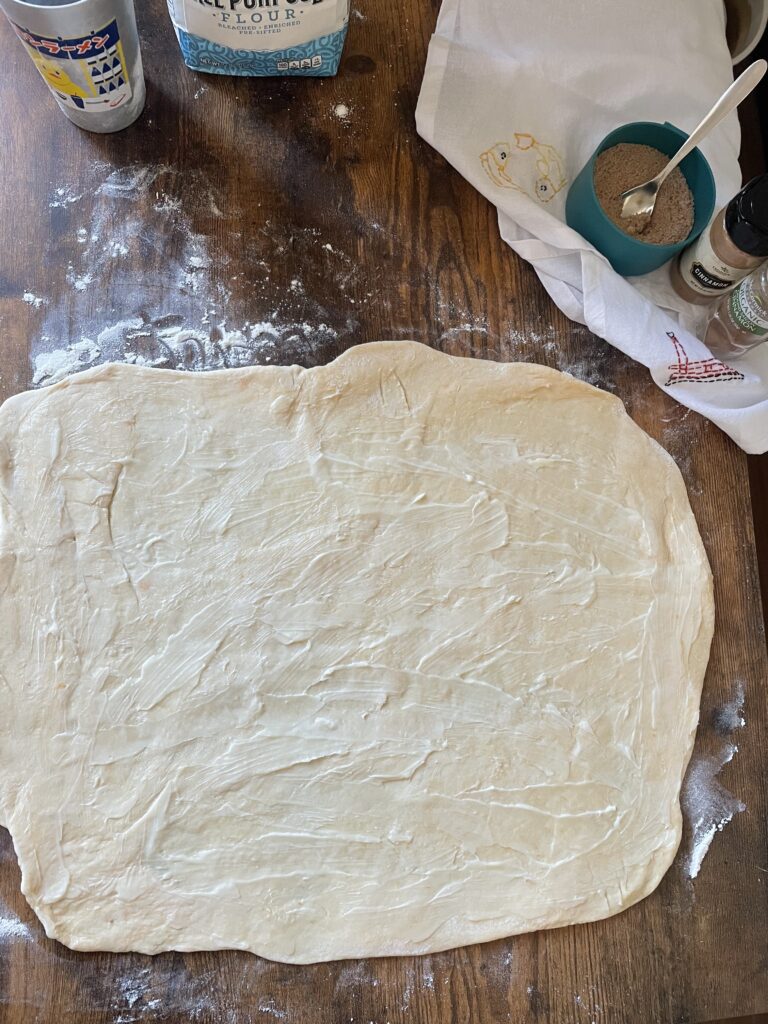
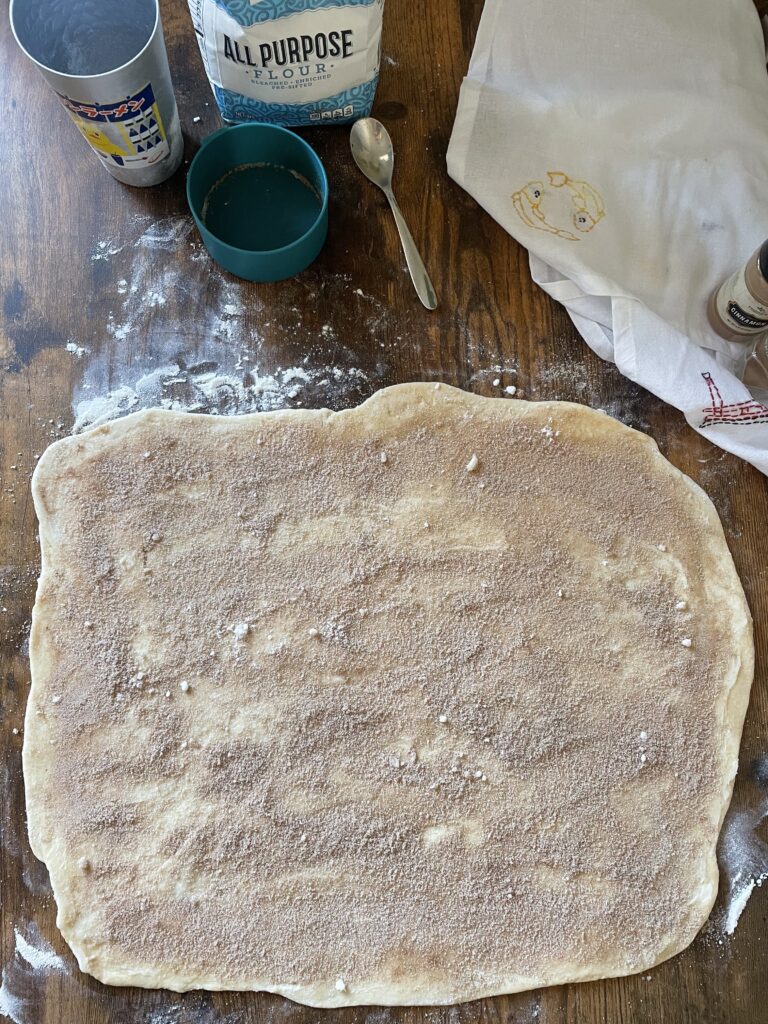
-After the dough has rested, roll it out on a flat, floured surface rectangle shape. (refer back to the image if worried)
-Spread the softened butter evenly over the dough (I used the back of a table spoon to spread).
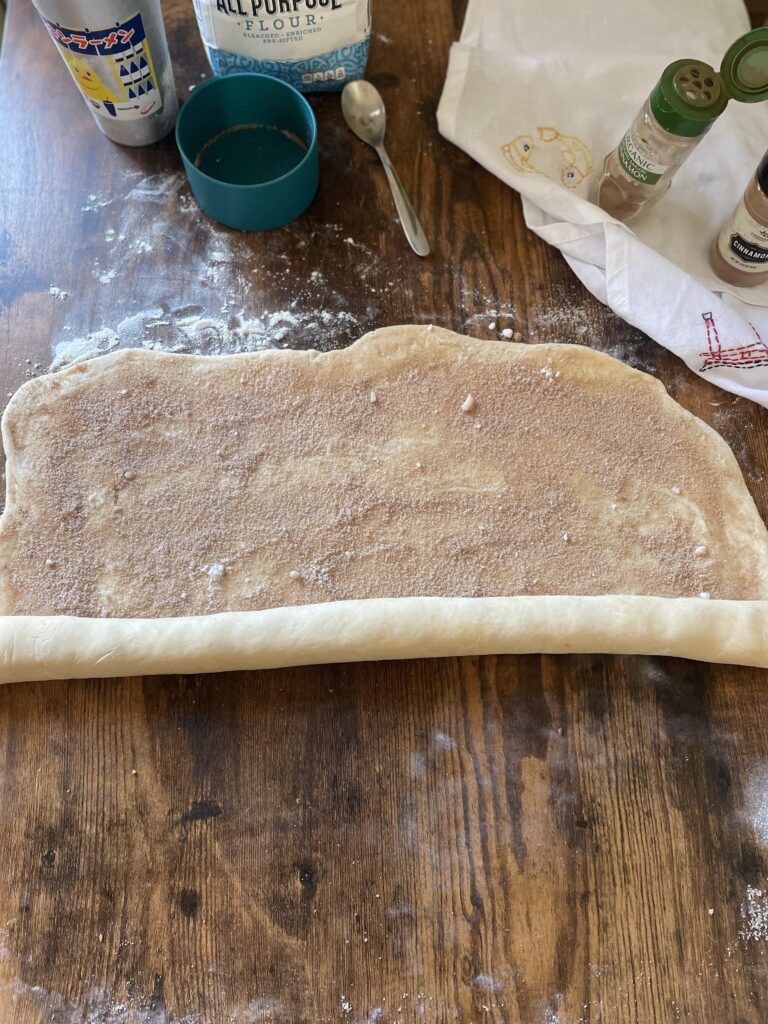
-Evenly sprinkle the sugar and cinnamon mixer all over the dough!
-Starting from one edge, tightly roll the dough into a long log shape.
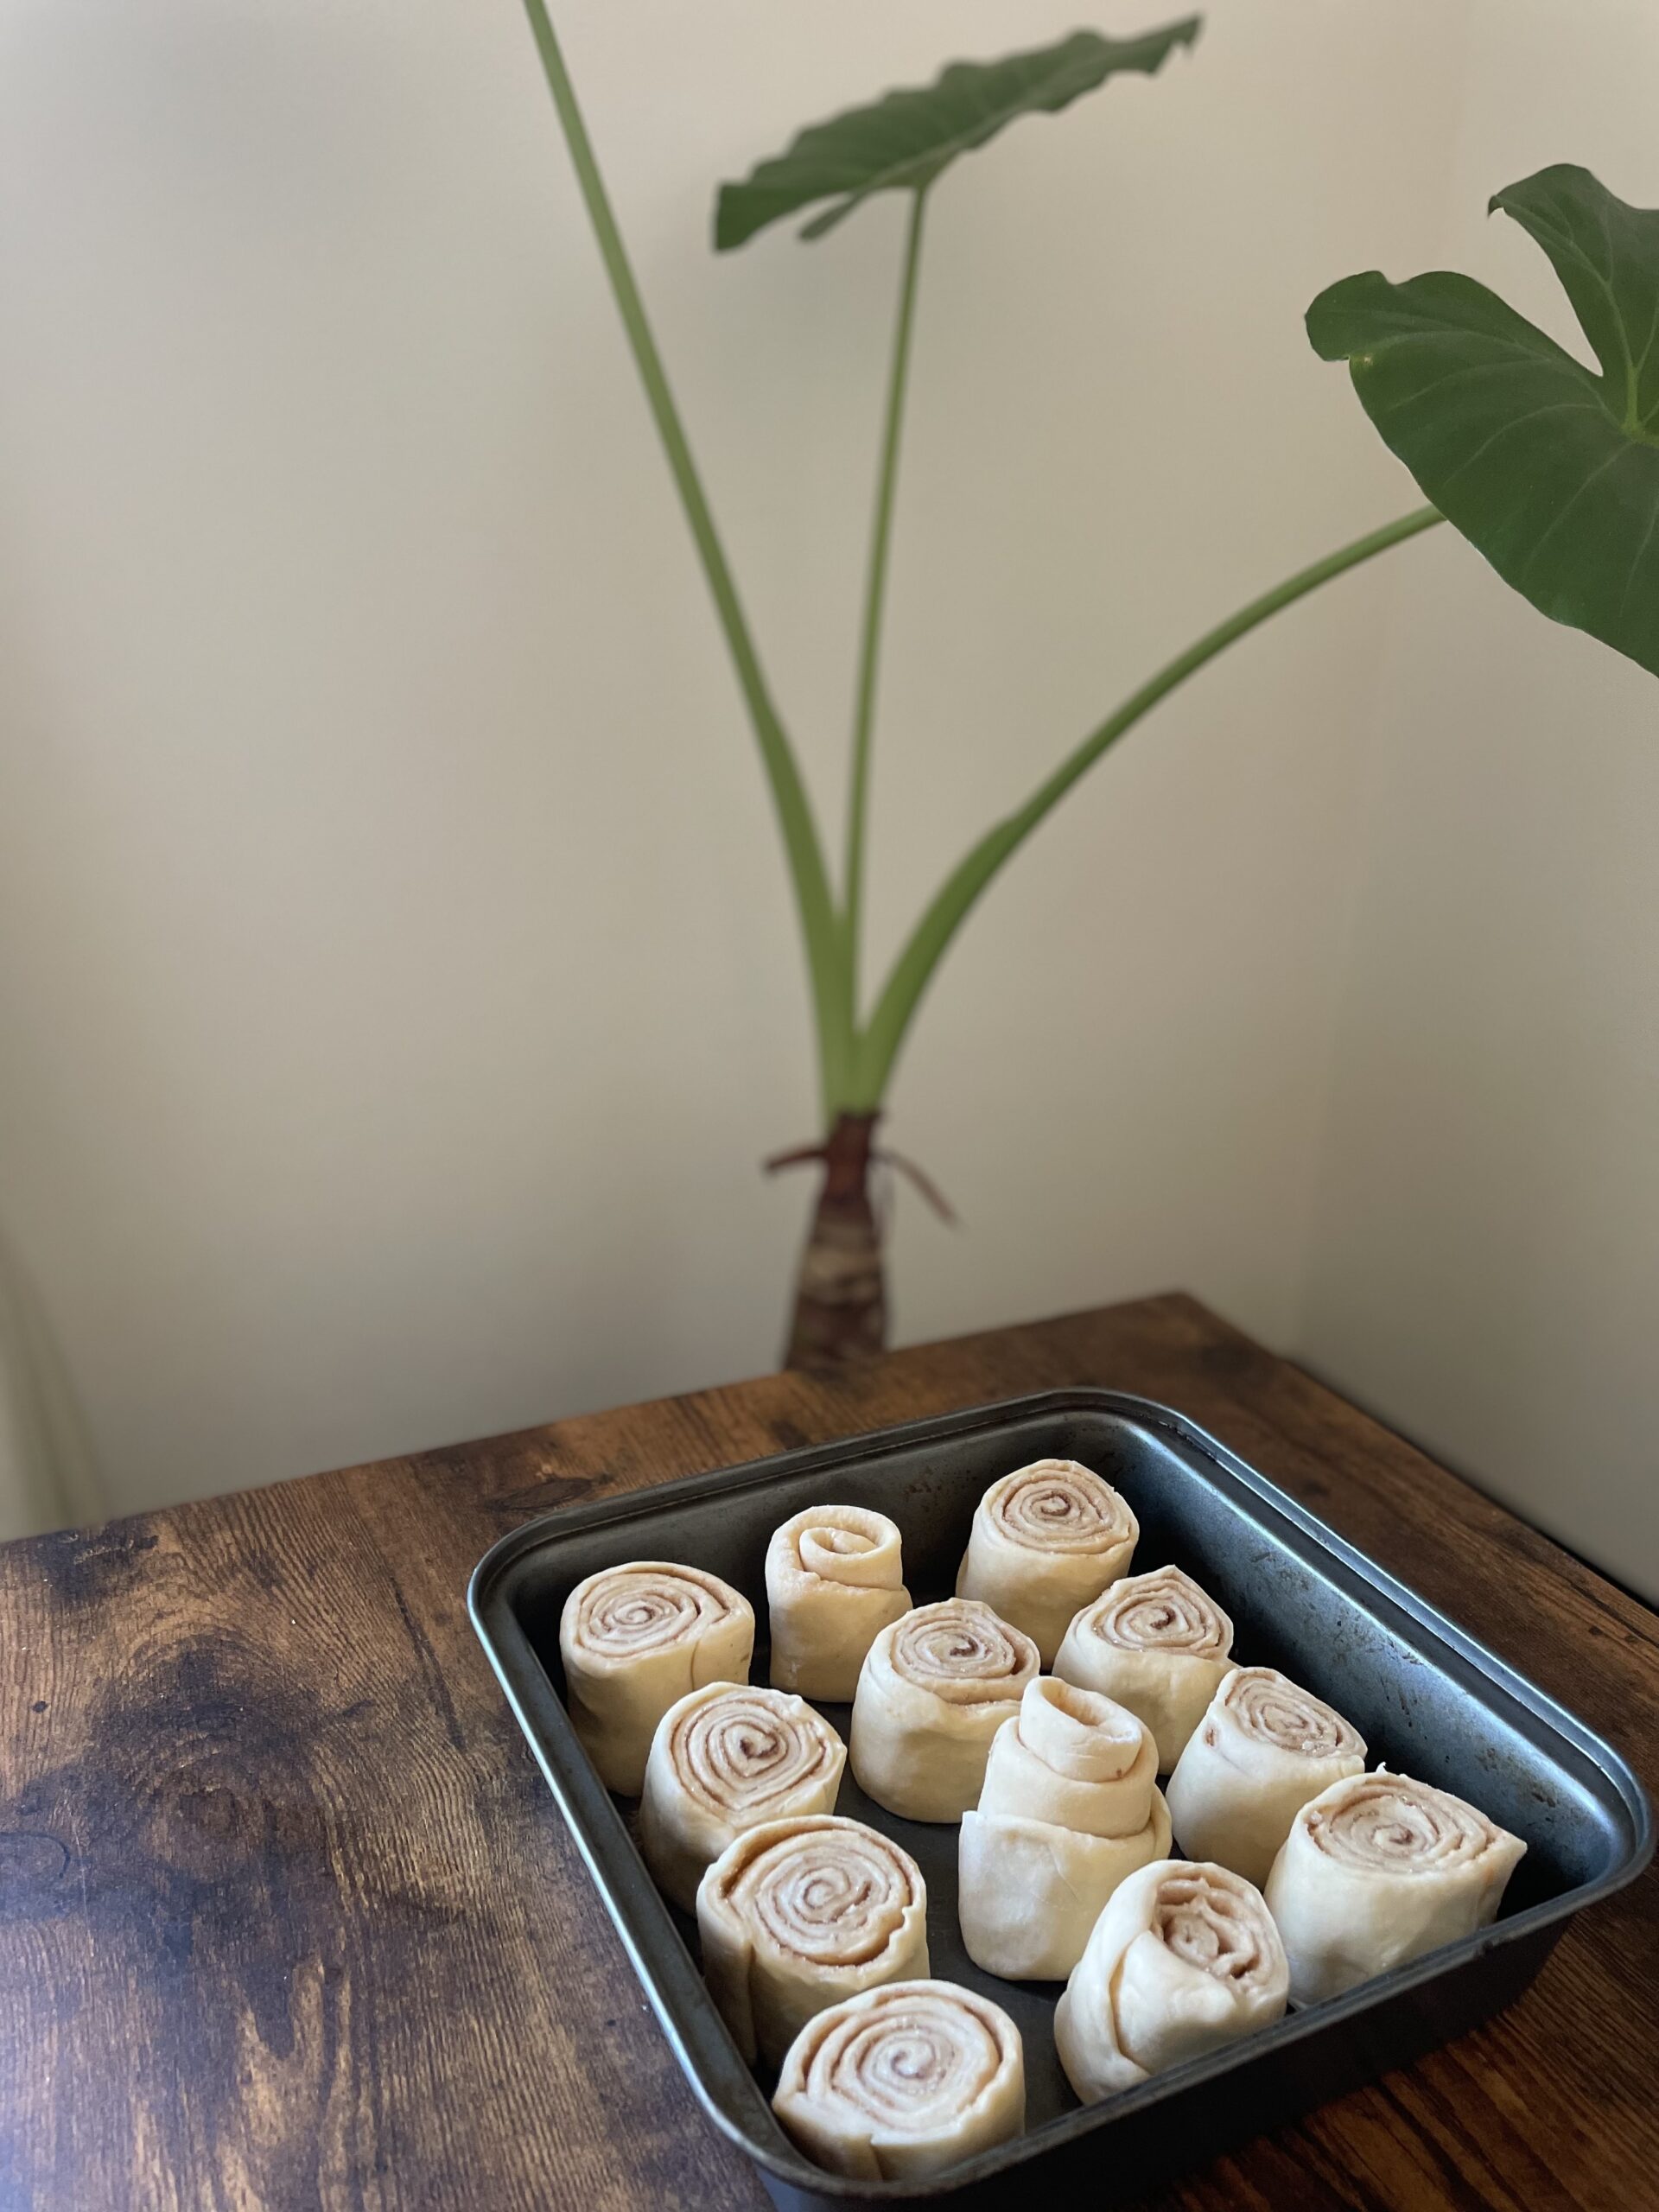
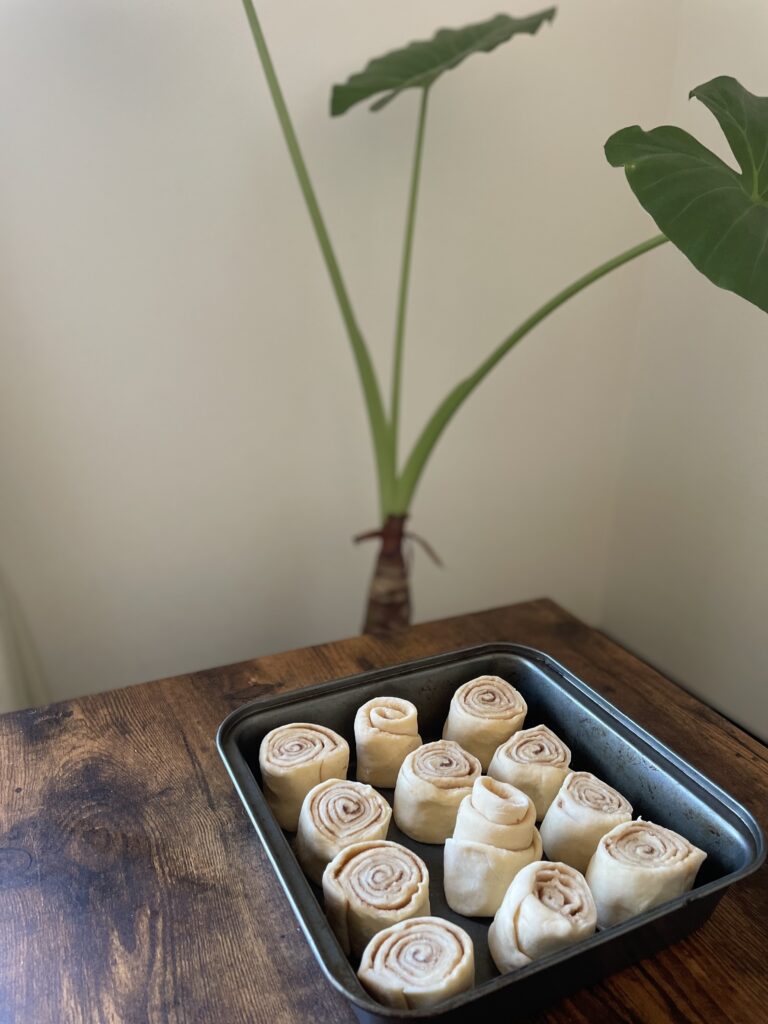
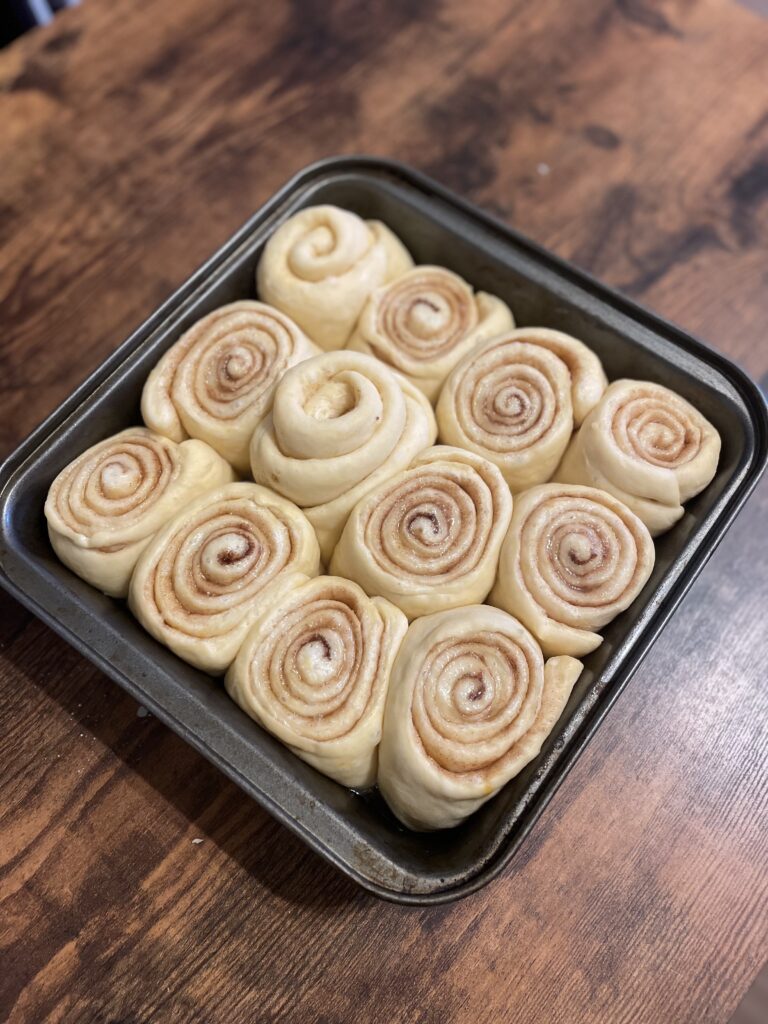
-Cut the roll into 10-12 even pieces and place them in a lightly greased 9- or 10-inch round cake pan, pie dish, or square baking pan.
4. Let the Rolls Rise:
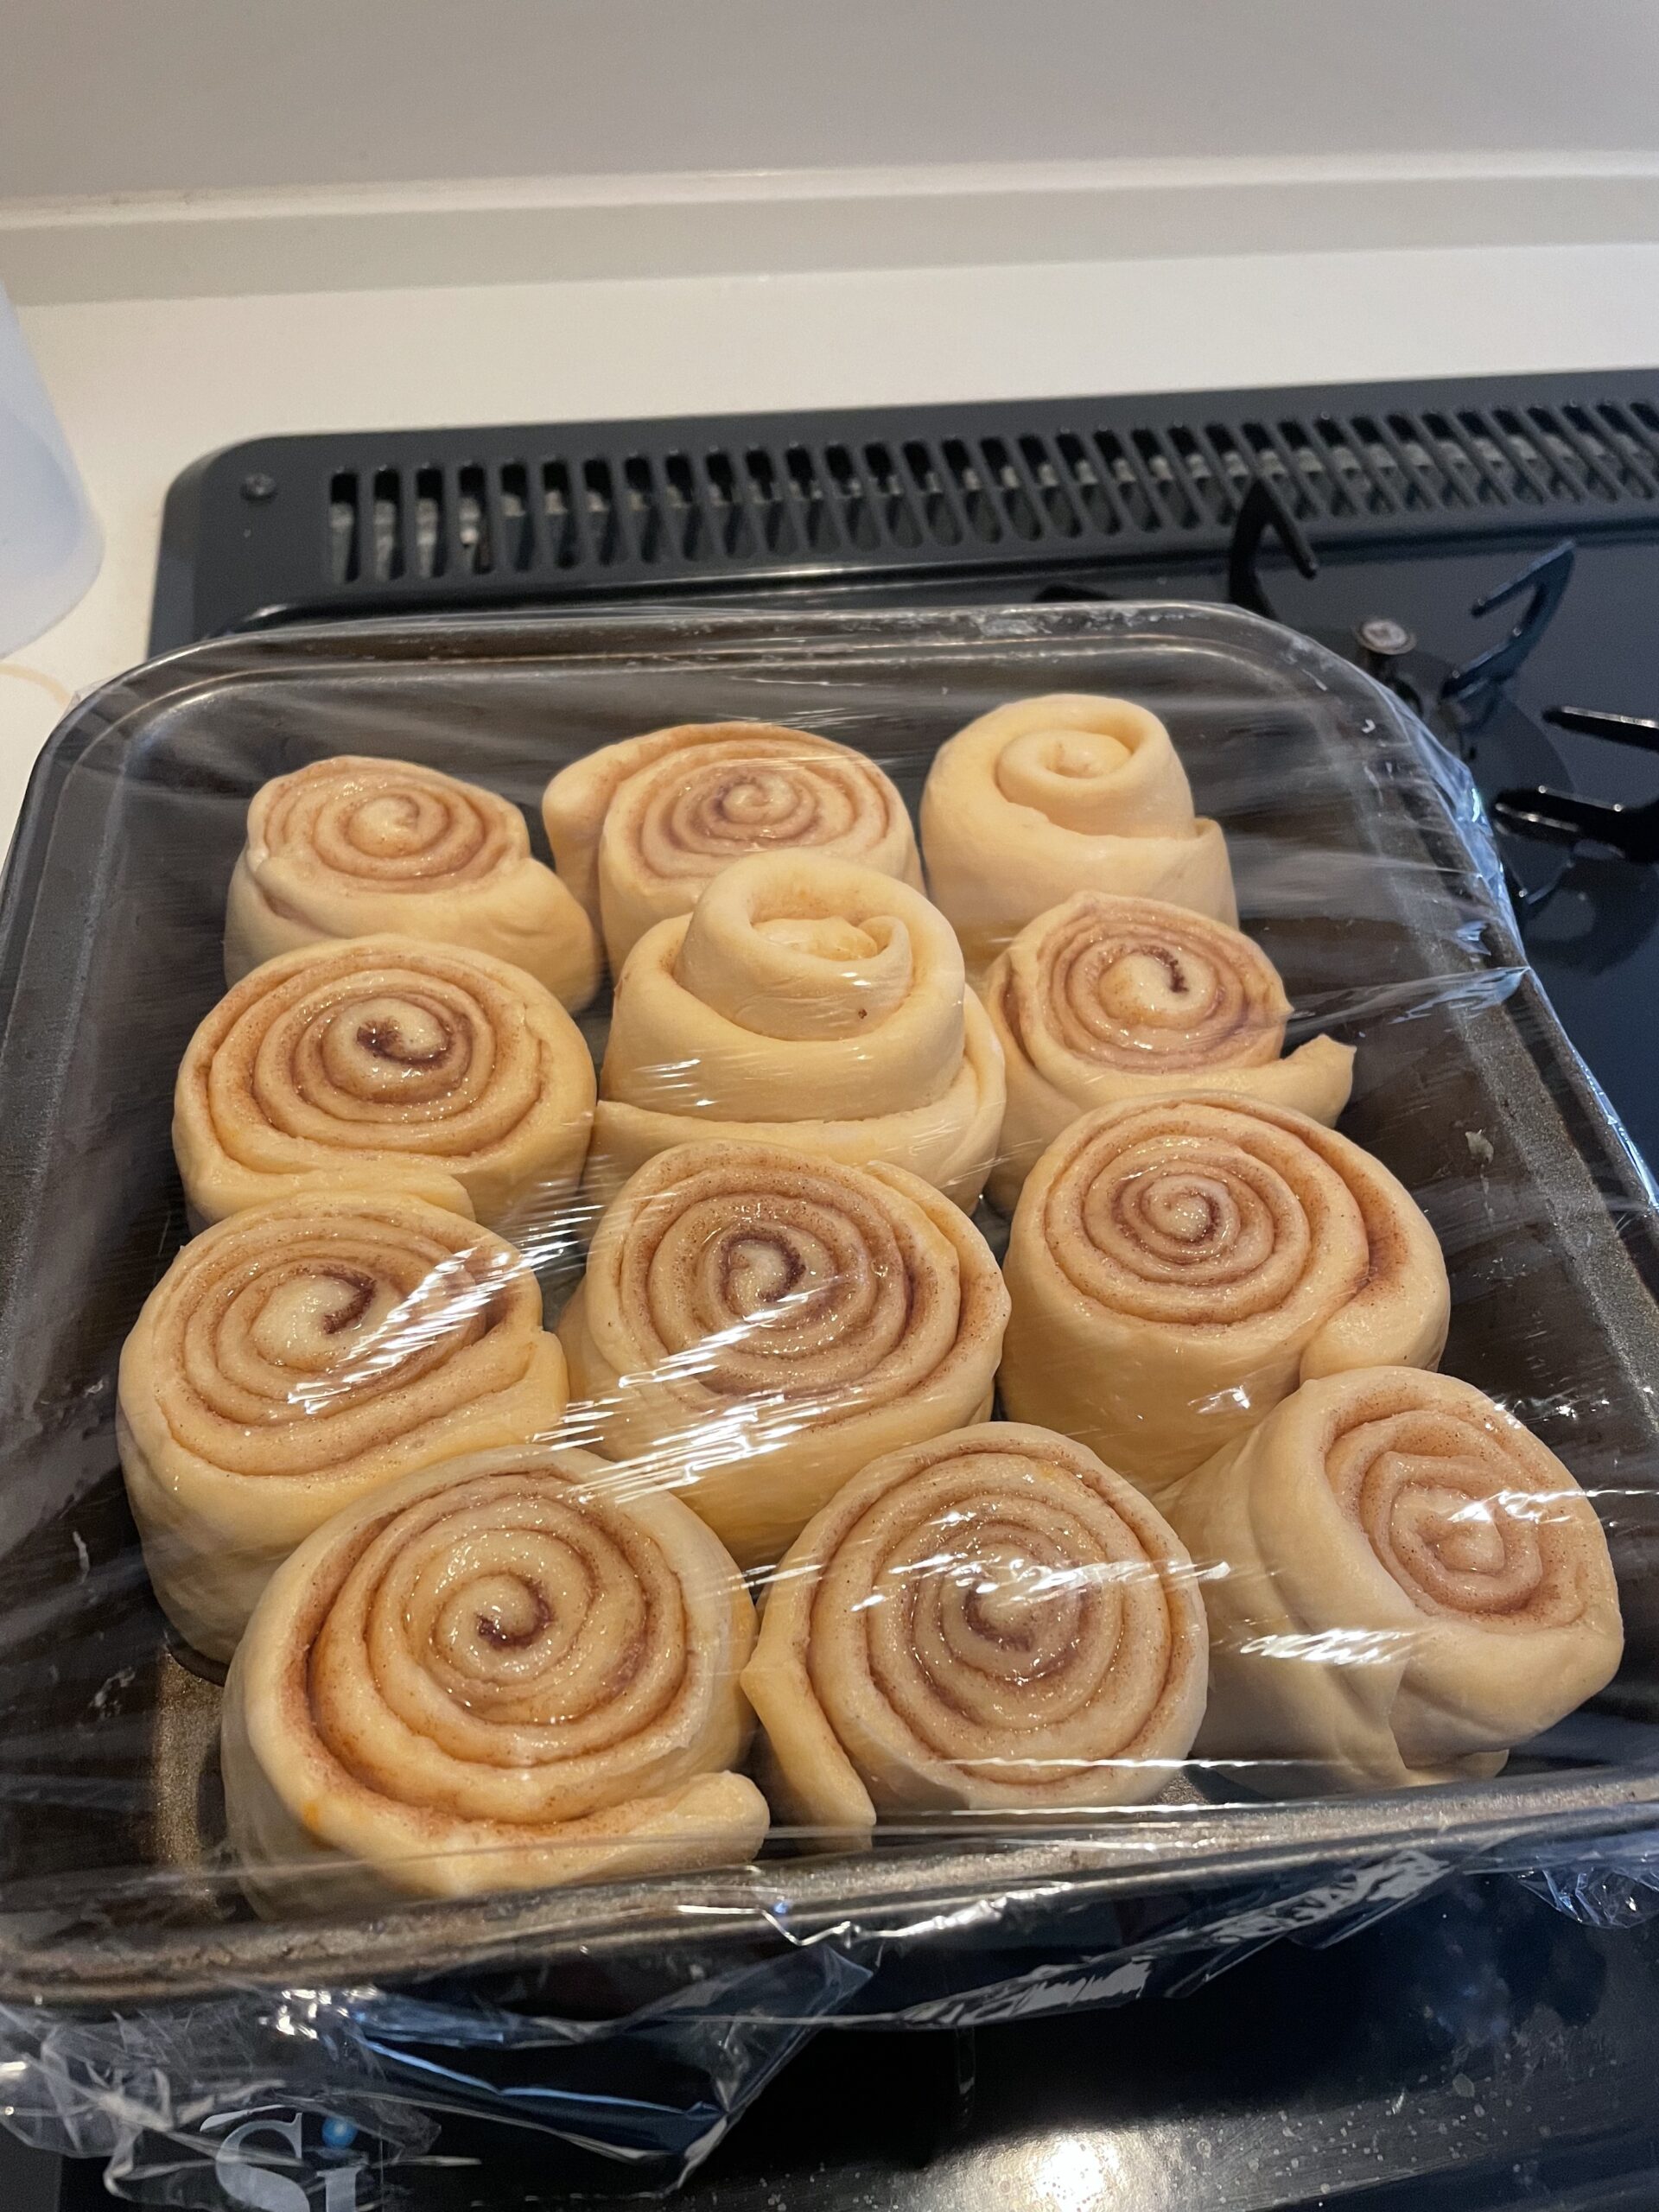
-Cover the pan with plastic wrap, aluminum foil, or a clean kitchen towel. Let the rolls rise in a warm, draft-free spot for 90-120 minutes, or until doubled in size.
5. Bake the Buns:
-Once the rolls have doubled in size, preheat your oven to 190°C.
-Bake for 20-25 minutes, (If they need longer go for it)
6. Make the Icing:
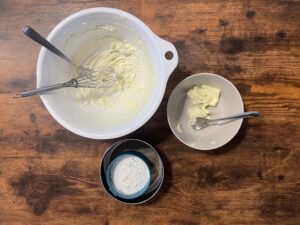
– While the buns are in the oven: In a medium bowl, beat the cream cheese either by hand (I used a fork), with handheld mixer or stand mixer until smooth and creamy.
-Add the butter and continue to beat until fully combined with the cream cheese.
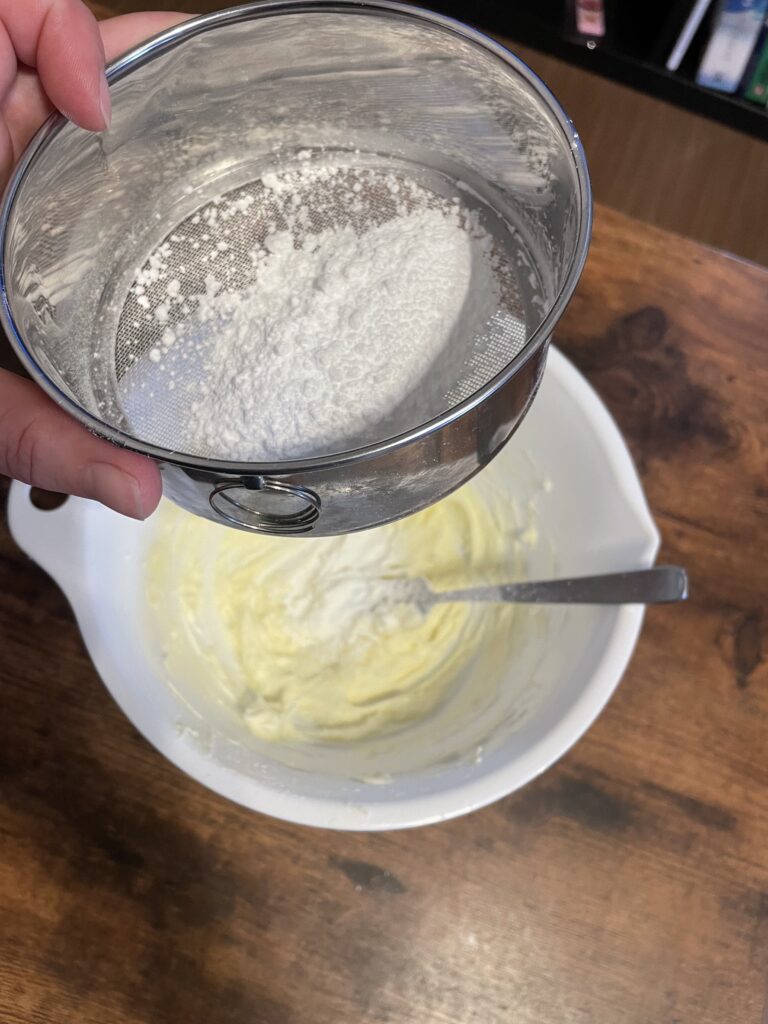
-Gradually sift the powdered sugar into the bowl until all smooth, fluffy and delicious.
-Once the buns are bakes, take the pan out of the oven using hand protection and place it on a wire rack for 5 mins to cool.
7. Frost and Serve:
-Spread the cream cheese icing generously over the warm rolls with the back of a tablespoon or a spatula.
-Serve immediately for the best melt-in-your-mouth experience! Or let them completely cool down and pop them in the fridge for up to 4 days.
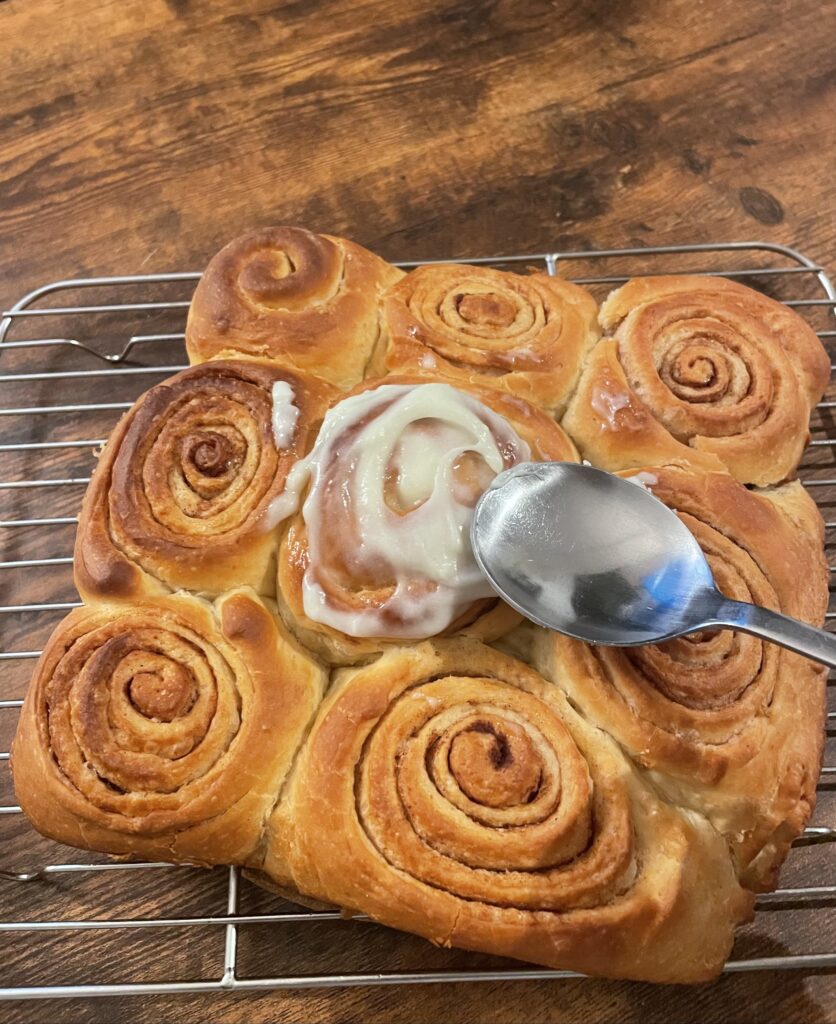
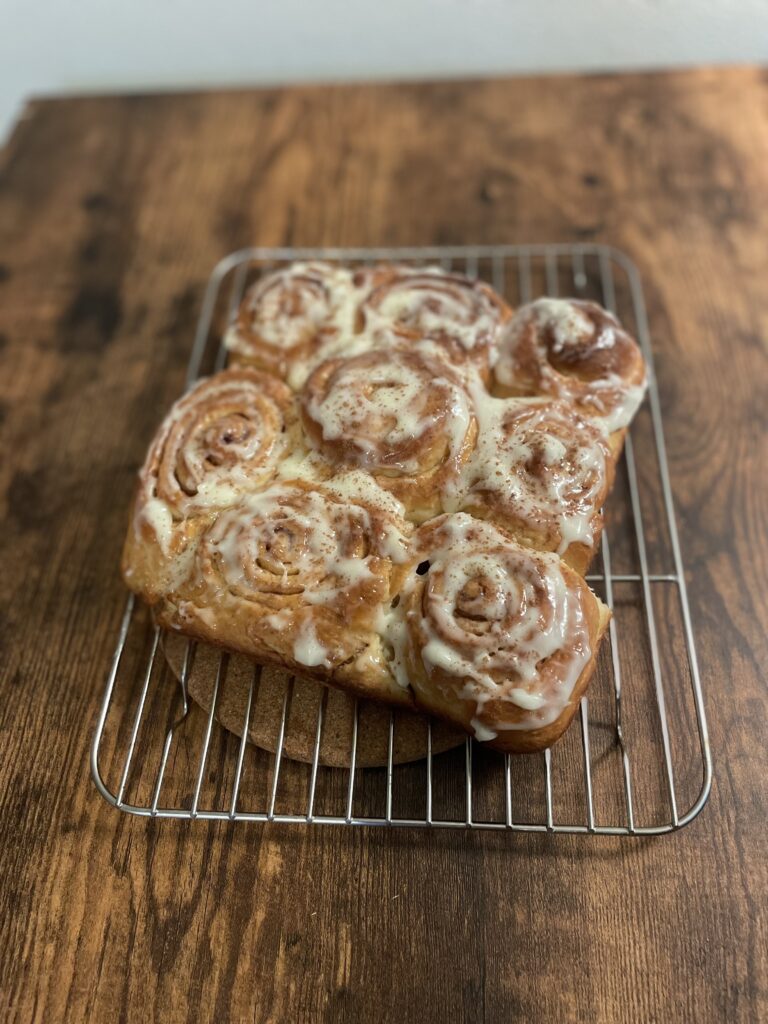
I may or may not have over done my buns

Step-by-step guide
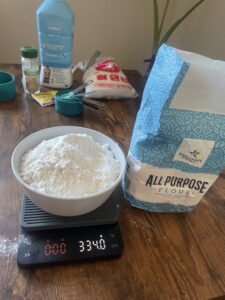
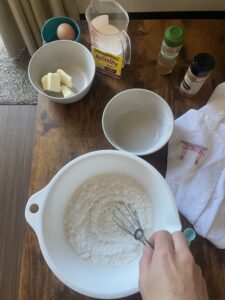
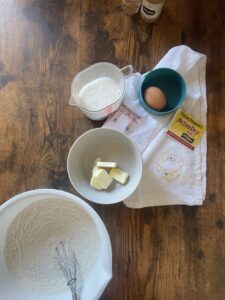
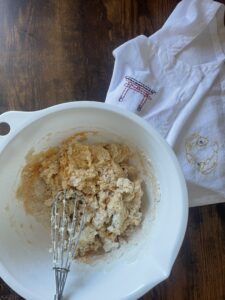
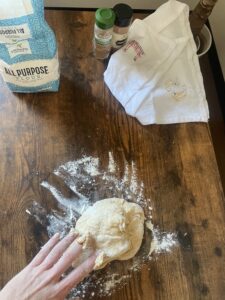
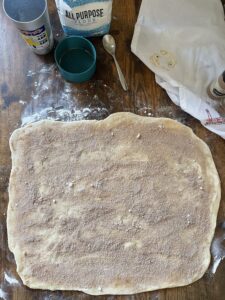
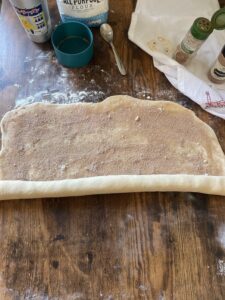
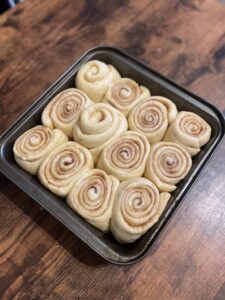
This step-by-step guide—complete with photos—will help ensure you’re on the right track every step of the way.
Disclosure
1. I am in temporary accommodation and have a severe lack of baking equipment.
2. I REALLY struggled to get some ingredients from the local Japanese supermarket- hence the substitutions
The Dough
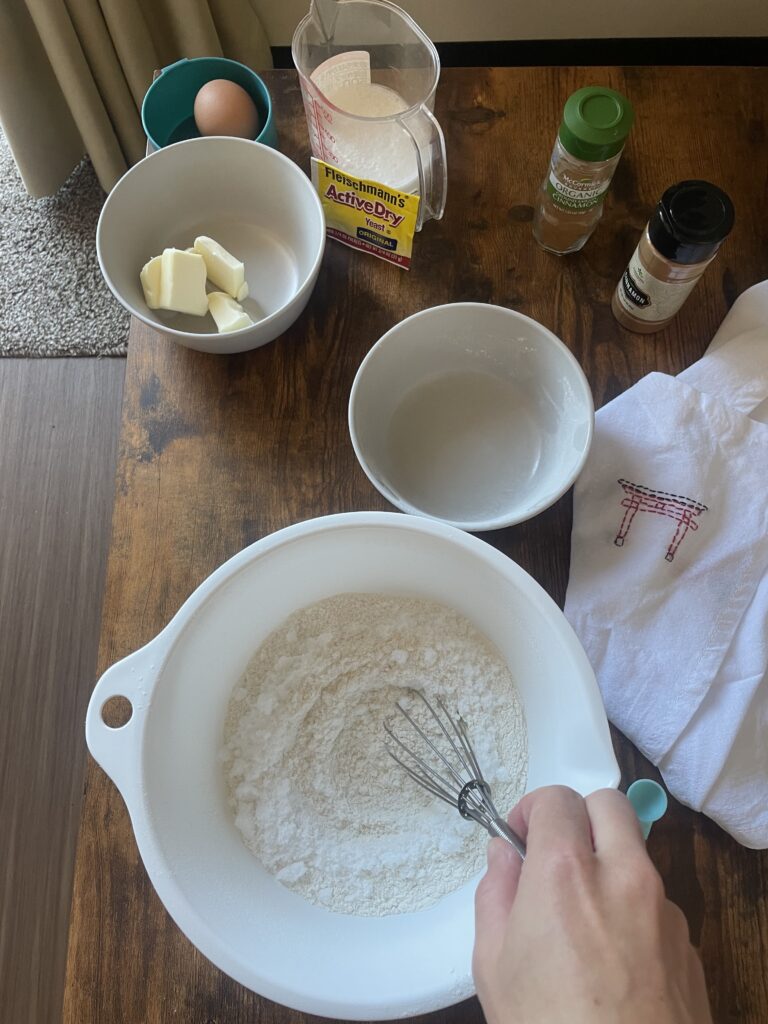
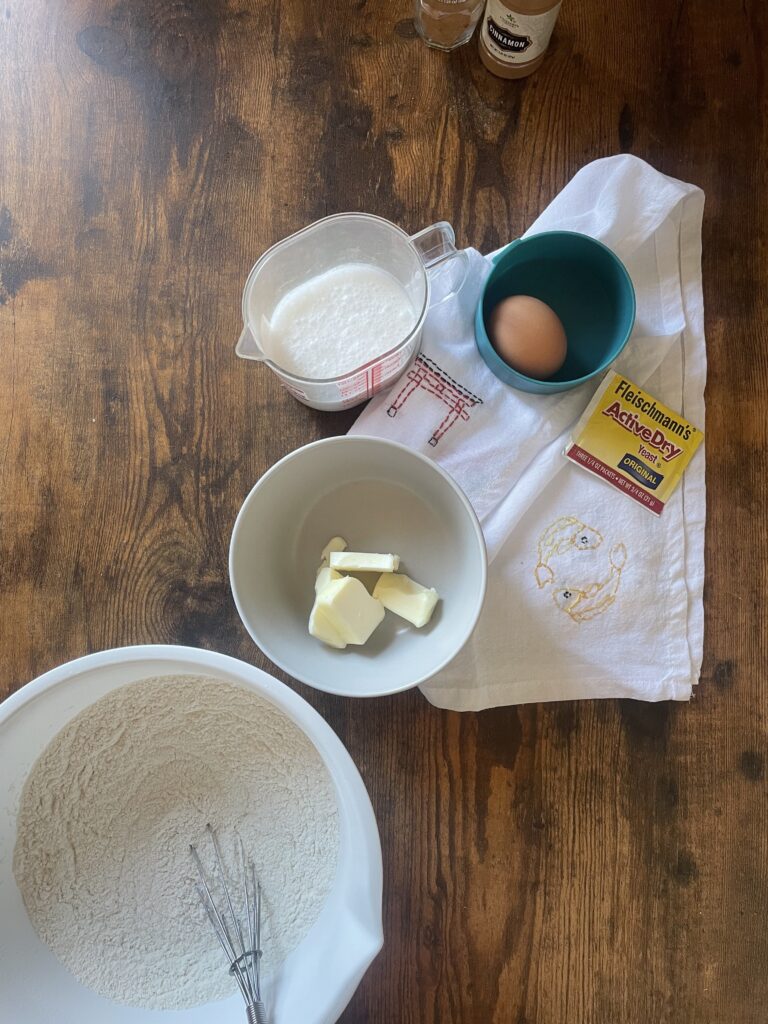
3. Add the yeast to the warm liquid mixture and stir until the yeast has fully dissolved.
The Filling
1. Use softened butter—not too firm, but not too runny. If the butter is too hard, it’ll be difficult to spread evenly on the dough. If it’s too melted, it will soak into the dough, which we want to avoid. The goal is a nice, spreadable consistency!
2. Combined the sugar and cinnamon in a bowl.


Topping
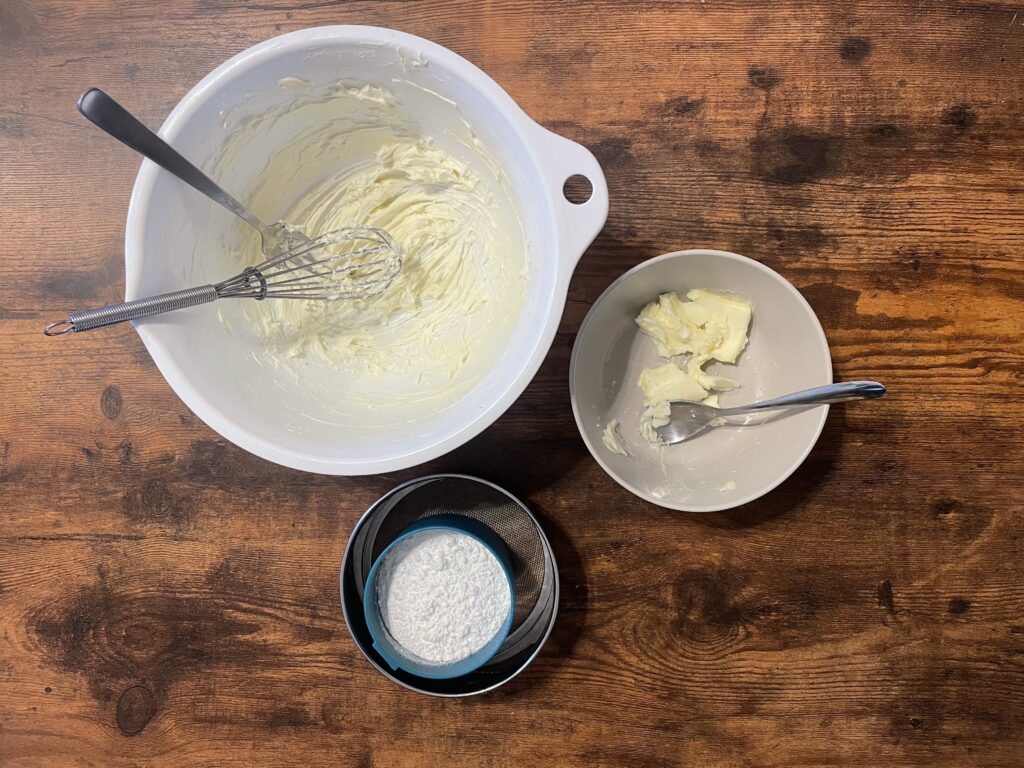
2. Add the soft butter and mix until it’s absolutely combined.
Like what you see… give me a follow
Tips & Tricks
Knife: When cutting the rolls, use your sharpest knife to avoid squashing them. This ensures they keep their height and fluffiness.
Pan/Dish: If the pan is too small, the rolls will be crowded. You can use a 9- or 10-inch pie dish, round cake pan, or square baking pan. My pan was far too small but I had limited equipment here.
Yeast: If your butter and milk mixture is too hot, it can kill the yeast therefore meaning the dough won’t rise, and you won’t know until it’s too late! A kitchen thermometer is a great tool to make sure you’re in the right range (aim for a temperature around 38–40°C) but if you don’t have one, the milk should be warm to the touch but not scalding.
Proving spot: Let the Rolls Rise in a Warm, Draft-Free Spot for 90-120 minutes, such as a kitchen cupboard. You can always preheat the oven to 190°C, then turn it off and let it cool for about 10 minutes. Afterward, place your buns inside, but be sure to tent them with tinfoil to keep them from drying out.
Don’t Overdo the Flour: You may need to add a little extra flour to achieve a kneadable dough, but be careful not to add too much. Keep it light!
Size: Experiment with size! You could roll up diddy (small), “normal“, or massive ones. Just all depends on how many buns you want to make.
Toppings: If you do decide to freeze some buns REMEMBER TO SAVE SOME SPARE ICING CREAM IN THE FRIDGE!!
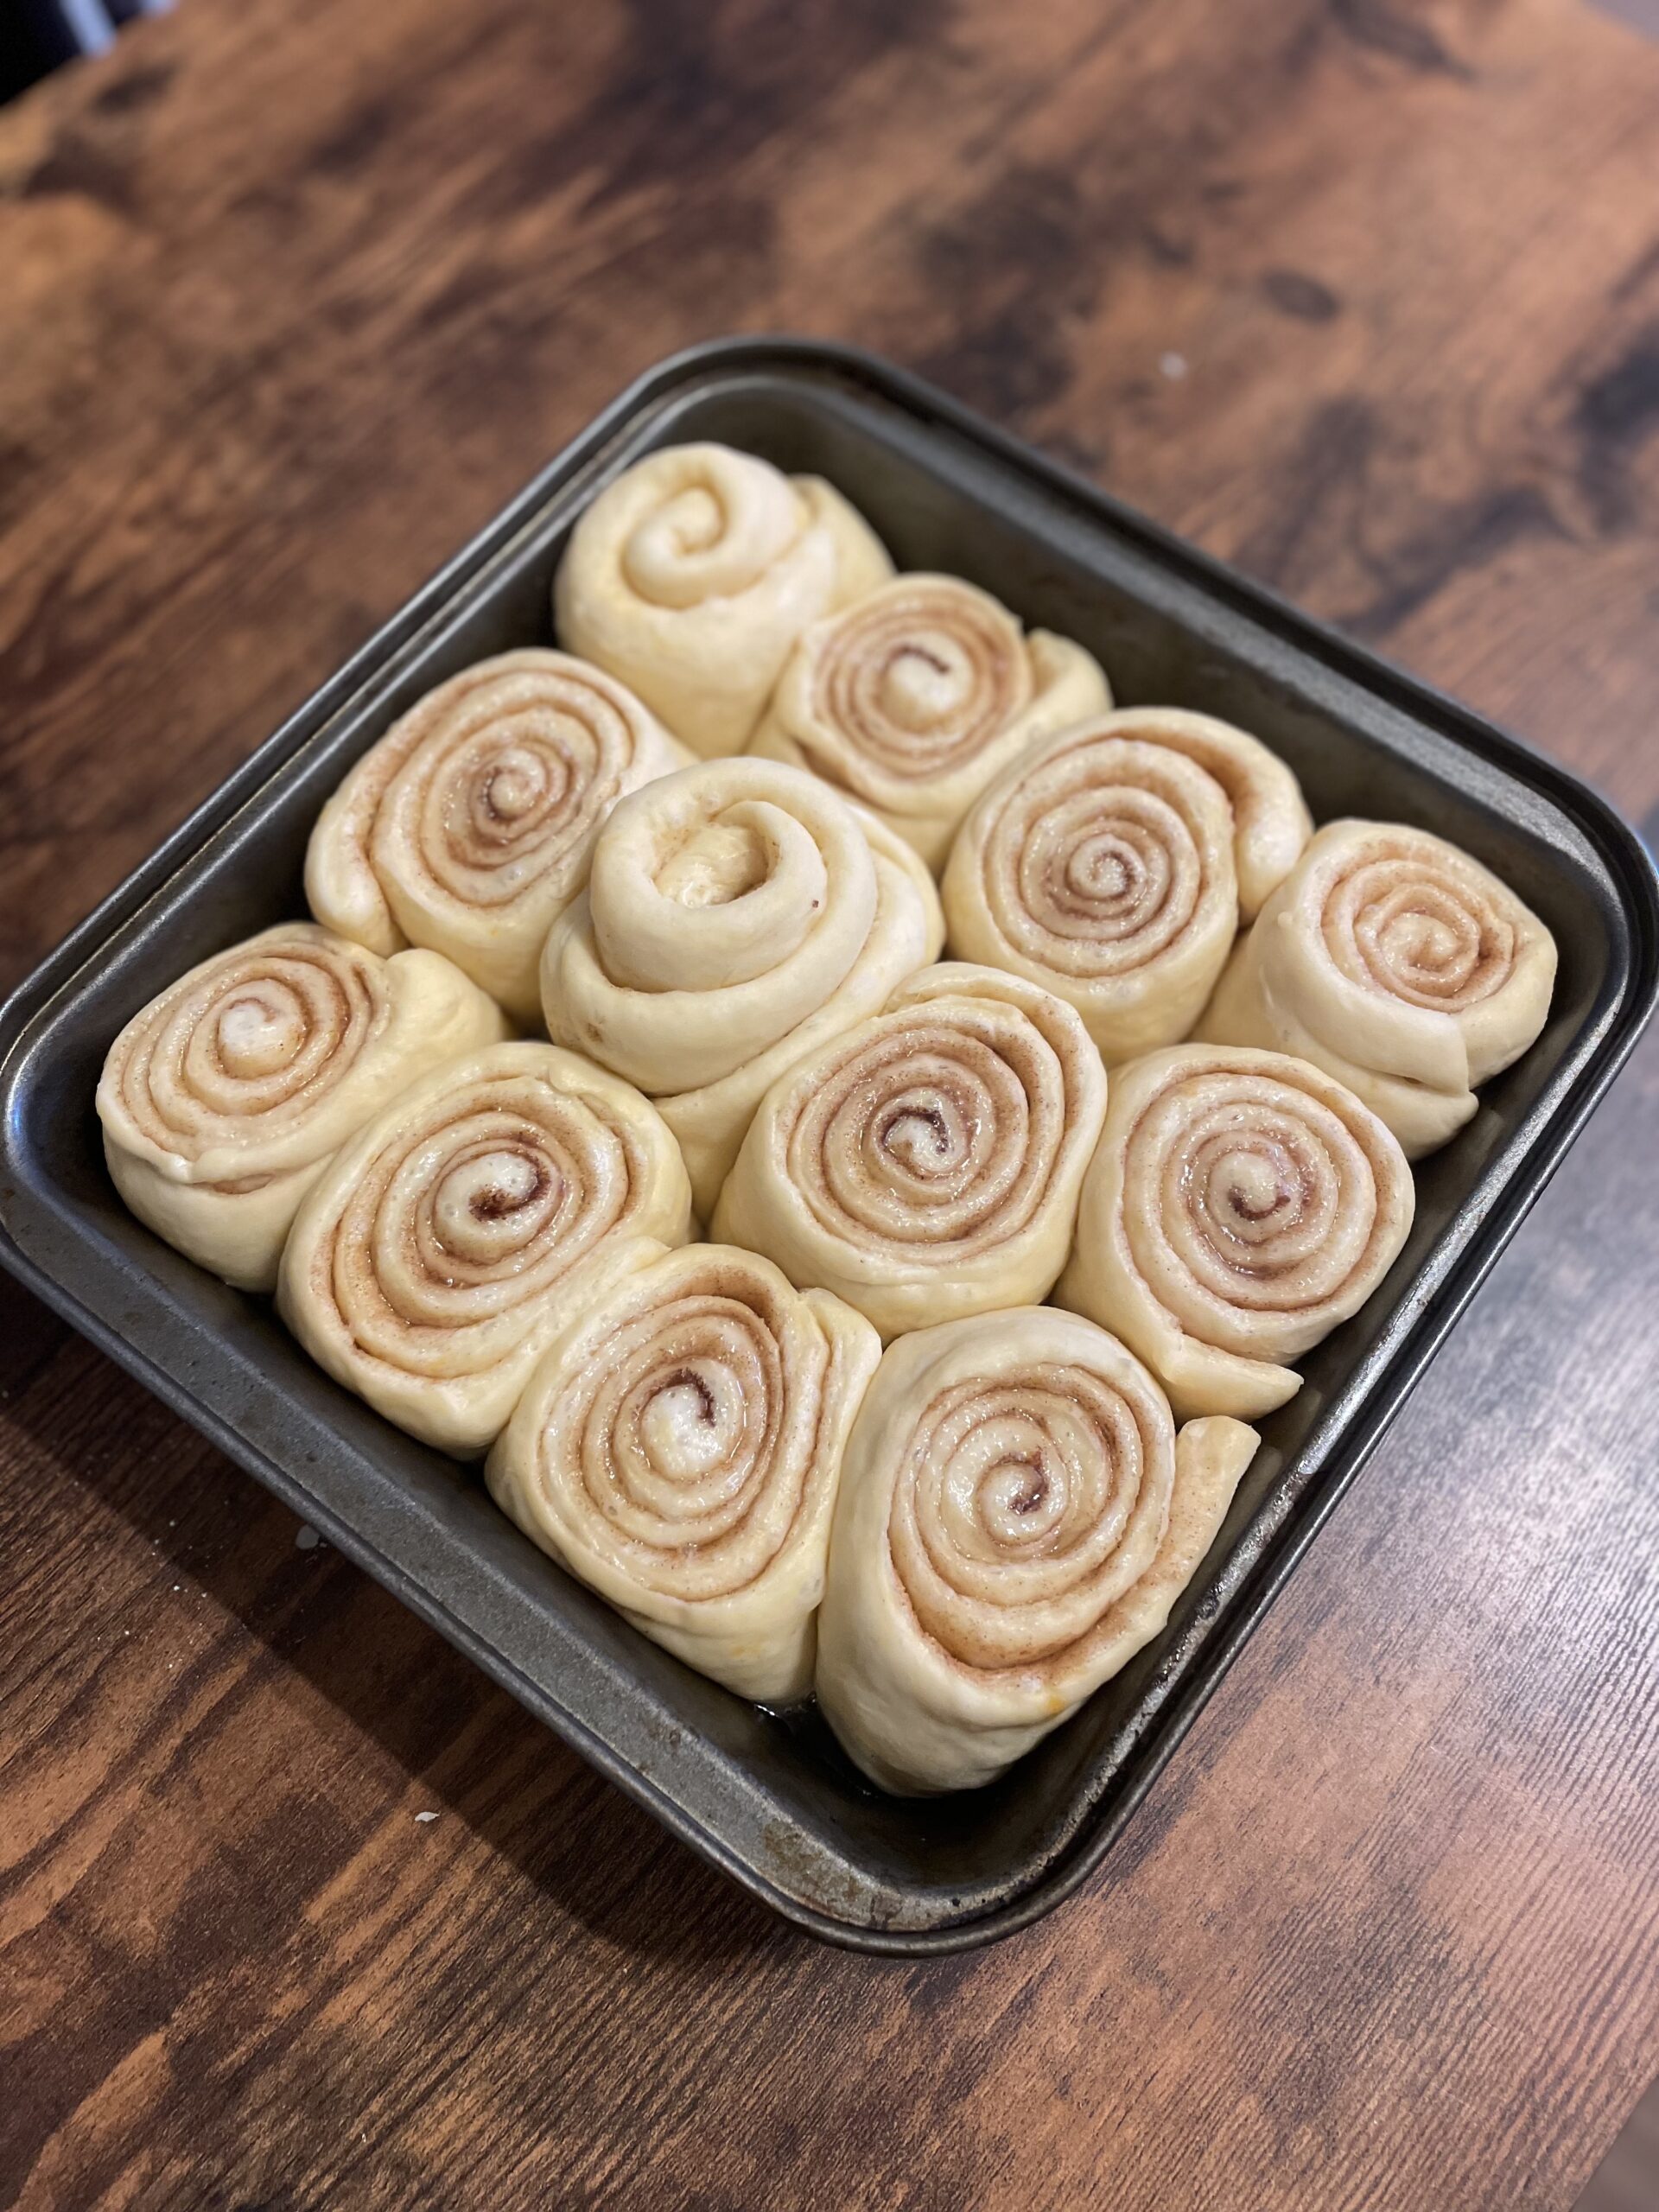
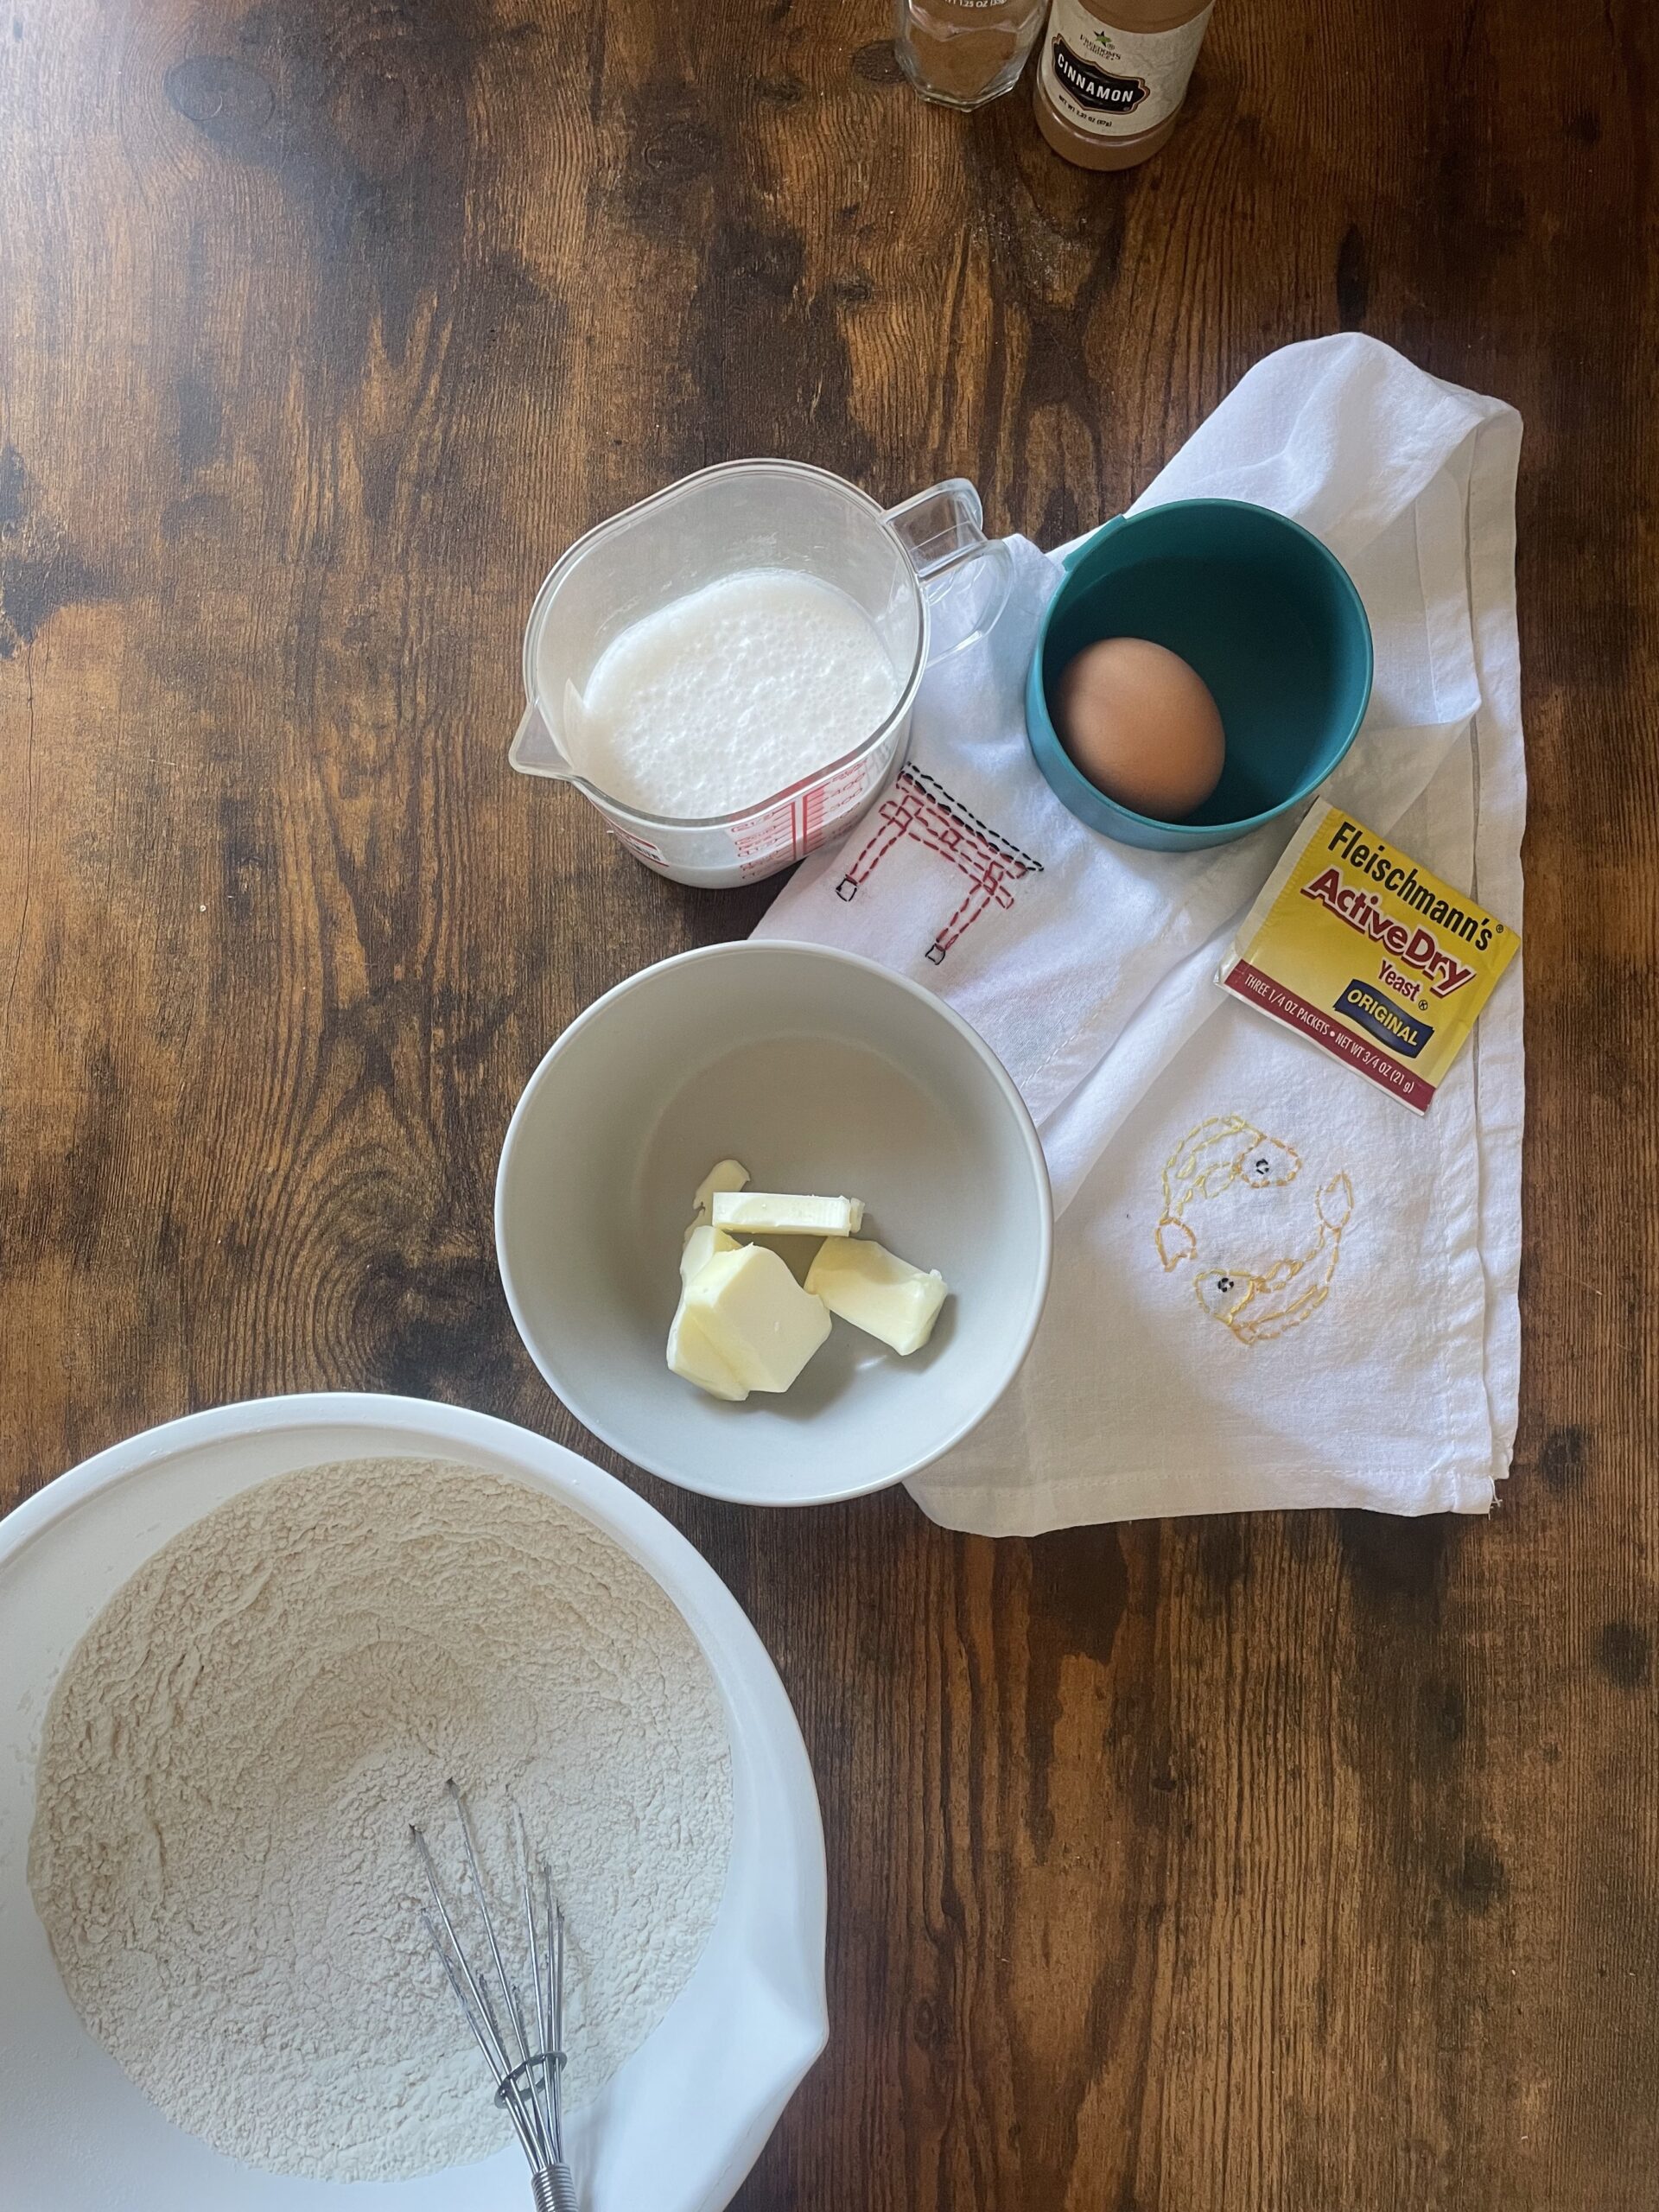


Easy to Bake Cinnamon Rolls
Freezing Instructions: Bake the rolls for 8-10 minutes at 190°C then let them cool completely. Tightly cover the rolls up and pop then in the freezer. When you have a cinnamon bun hankering, take out the bun(s) and let it defrost fully, then finish baking for 15–20 minutes, and enjoy fresh, hot cinnamon rolls! Don’t forget to save some icing in the fridge!
Baked rolls can be frozen for up to 2 months.
To enjoy, thaw them overnight in the refrigerator, then warm them up before serving.
Last Updated on 27/12/2024 by Sophie
